Hi. This is a lesson on drawing a pot of roses with watercolour.
This lesson was created so that you can repeat it or by following the steps you can draw your own pot with beautiful roses.
- It all starts with an idea
- At this stage it is very important to plan in advance what the design will look like
- Remember about the ellipses in the rose and about the main line from the stem upwards, where the rose grows
- Once the basic shapes are in place, we can start drawing with more confident lines
- Draw the foliage of our vase
- Let’s add a bow to the pot to make the drawing look more festive
- Now colour our picture
- Now let’s draw the green leaves
- Draw blue leaves of greenery in the shade
- Draw the base colour on the pot and table
- Next, continue to work on the details
- Then we draw the leaves, adding light areas on the leaves and dark areas
- Now let’s draw the pot and the shadow behind the pot
- Now let’s make a bow
It all starts with an idea
You want to draw a pot of roses and you need to prepare for it.
If you have little experience in drawing pots and roses, then you will need an example, a real rose pot or a photo of a rose pot or different photos of pots and roses.
All artists learn to draw by looking at nature, and only after practice and study of the object, are they able to draw by imagination.
So feel free to use references, because it’s the right thing to do and it will help you a lot.

So, you’ve found the pot, the roses, and you’re ready to paint.
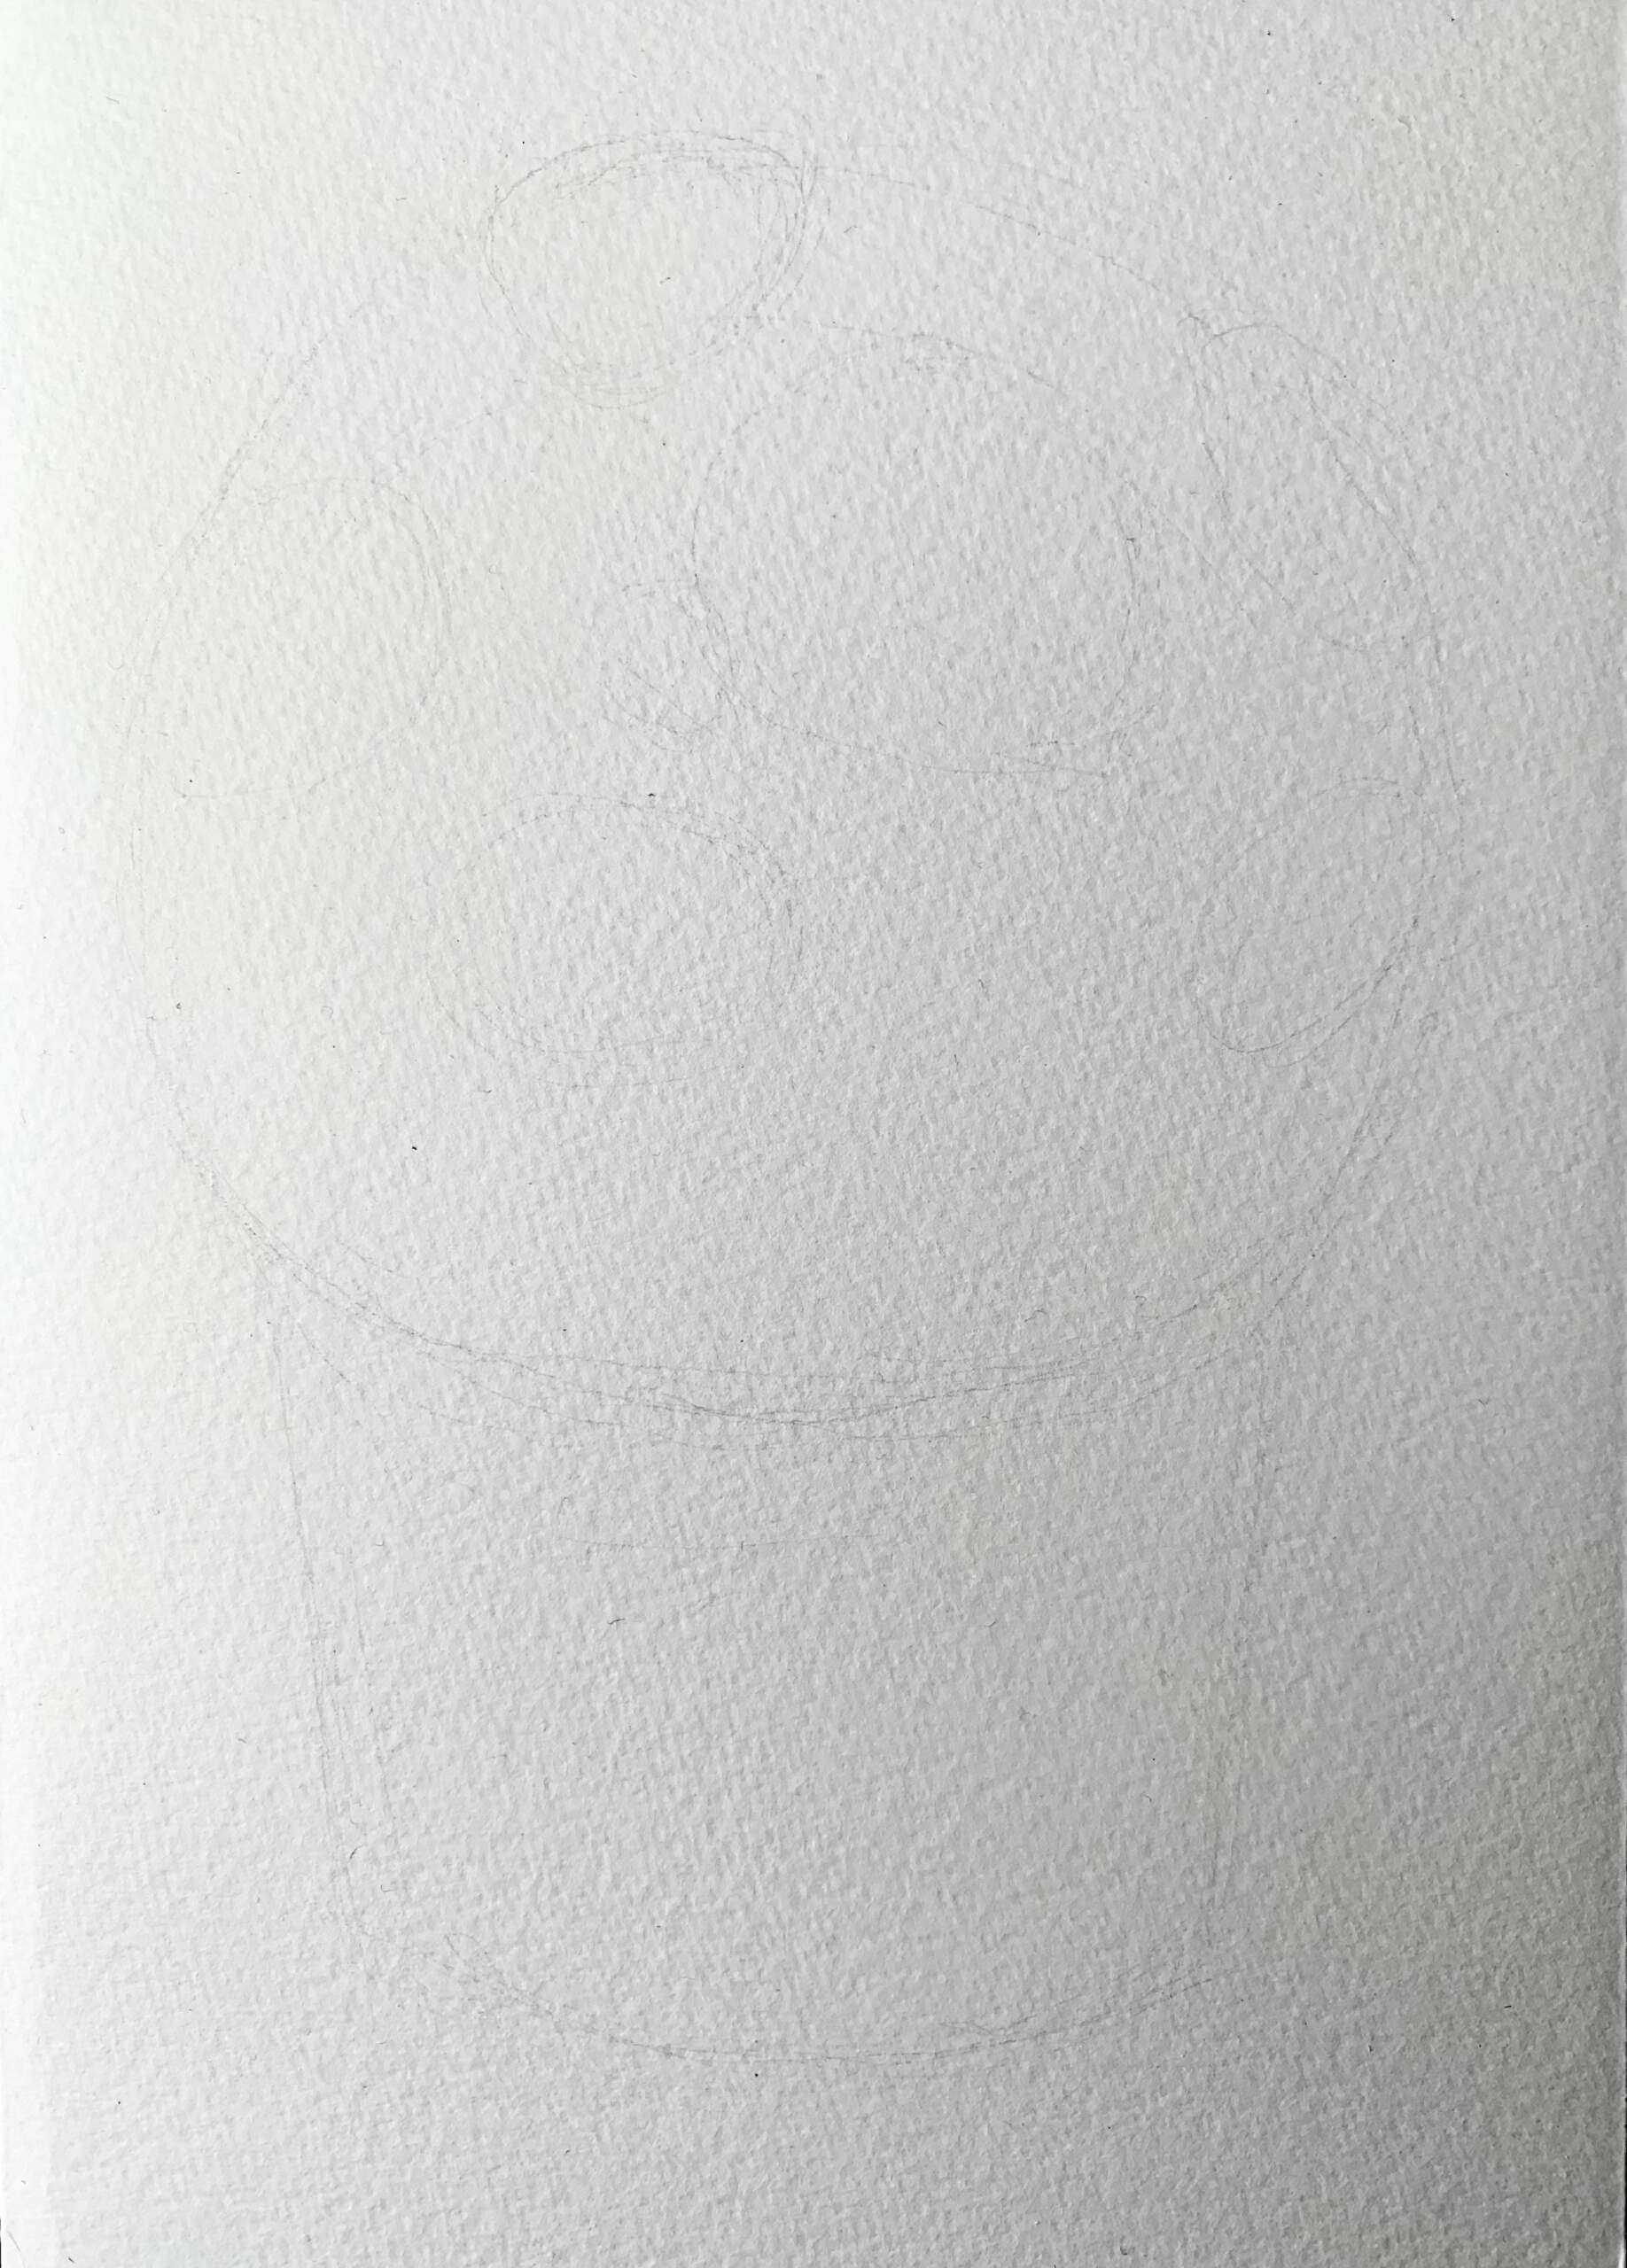
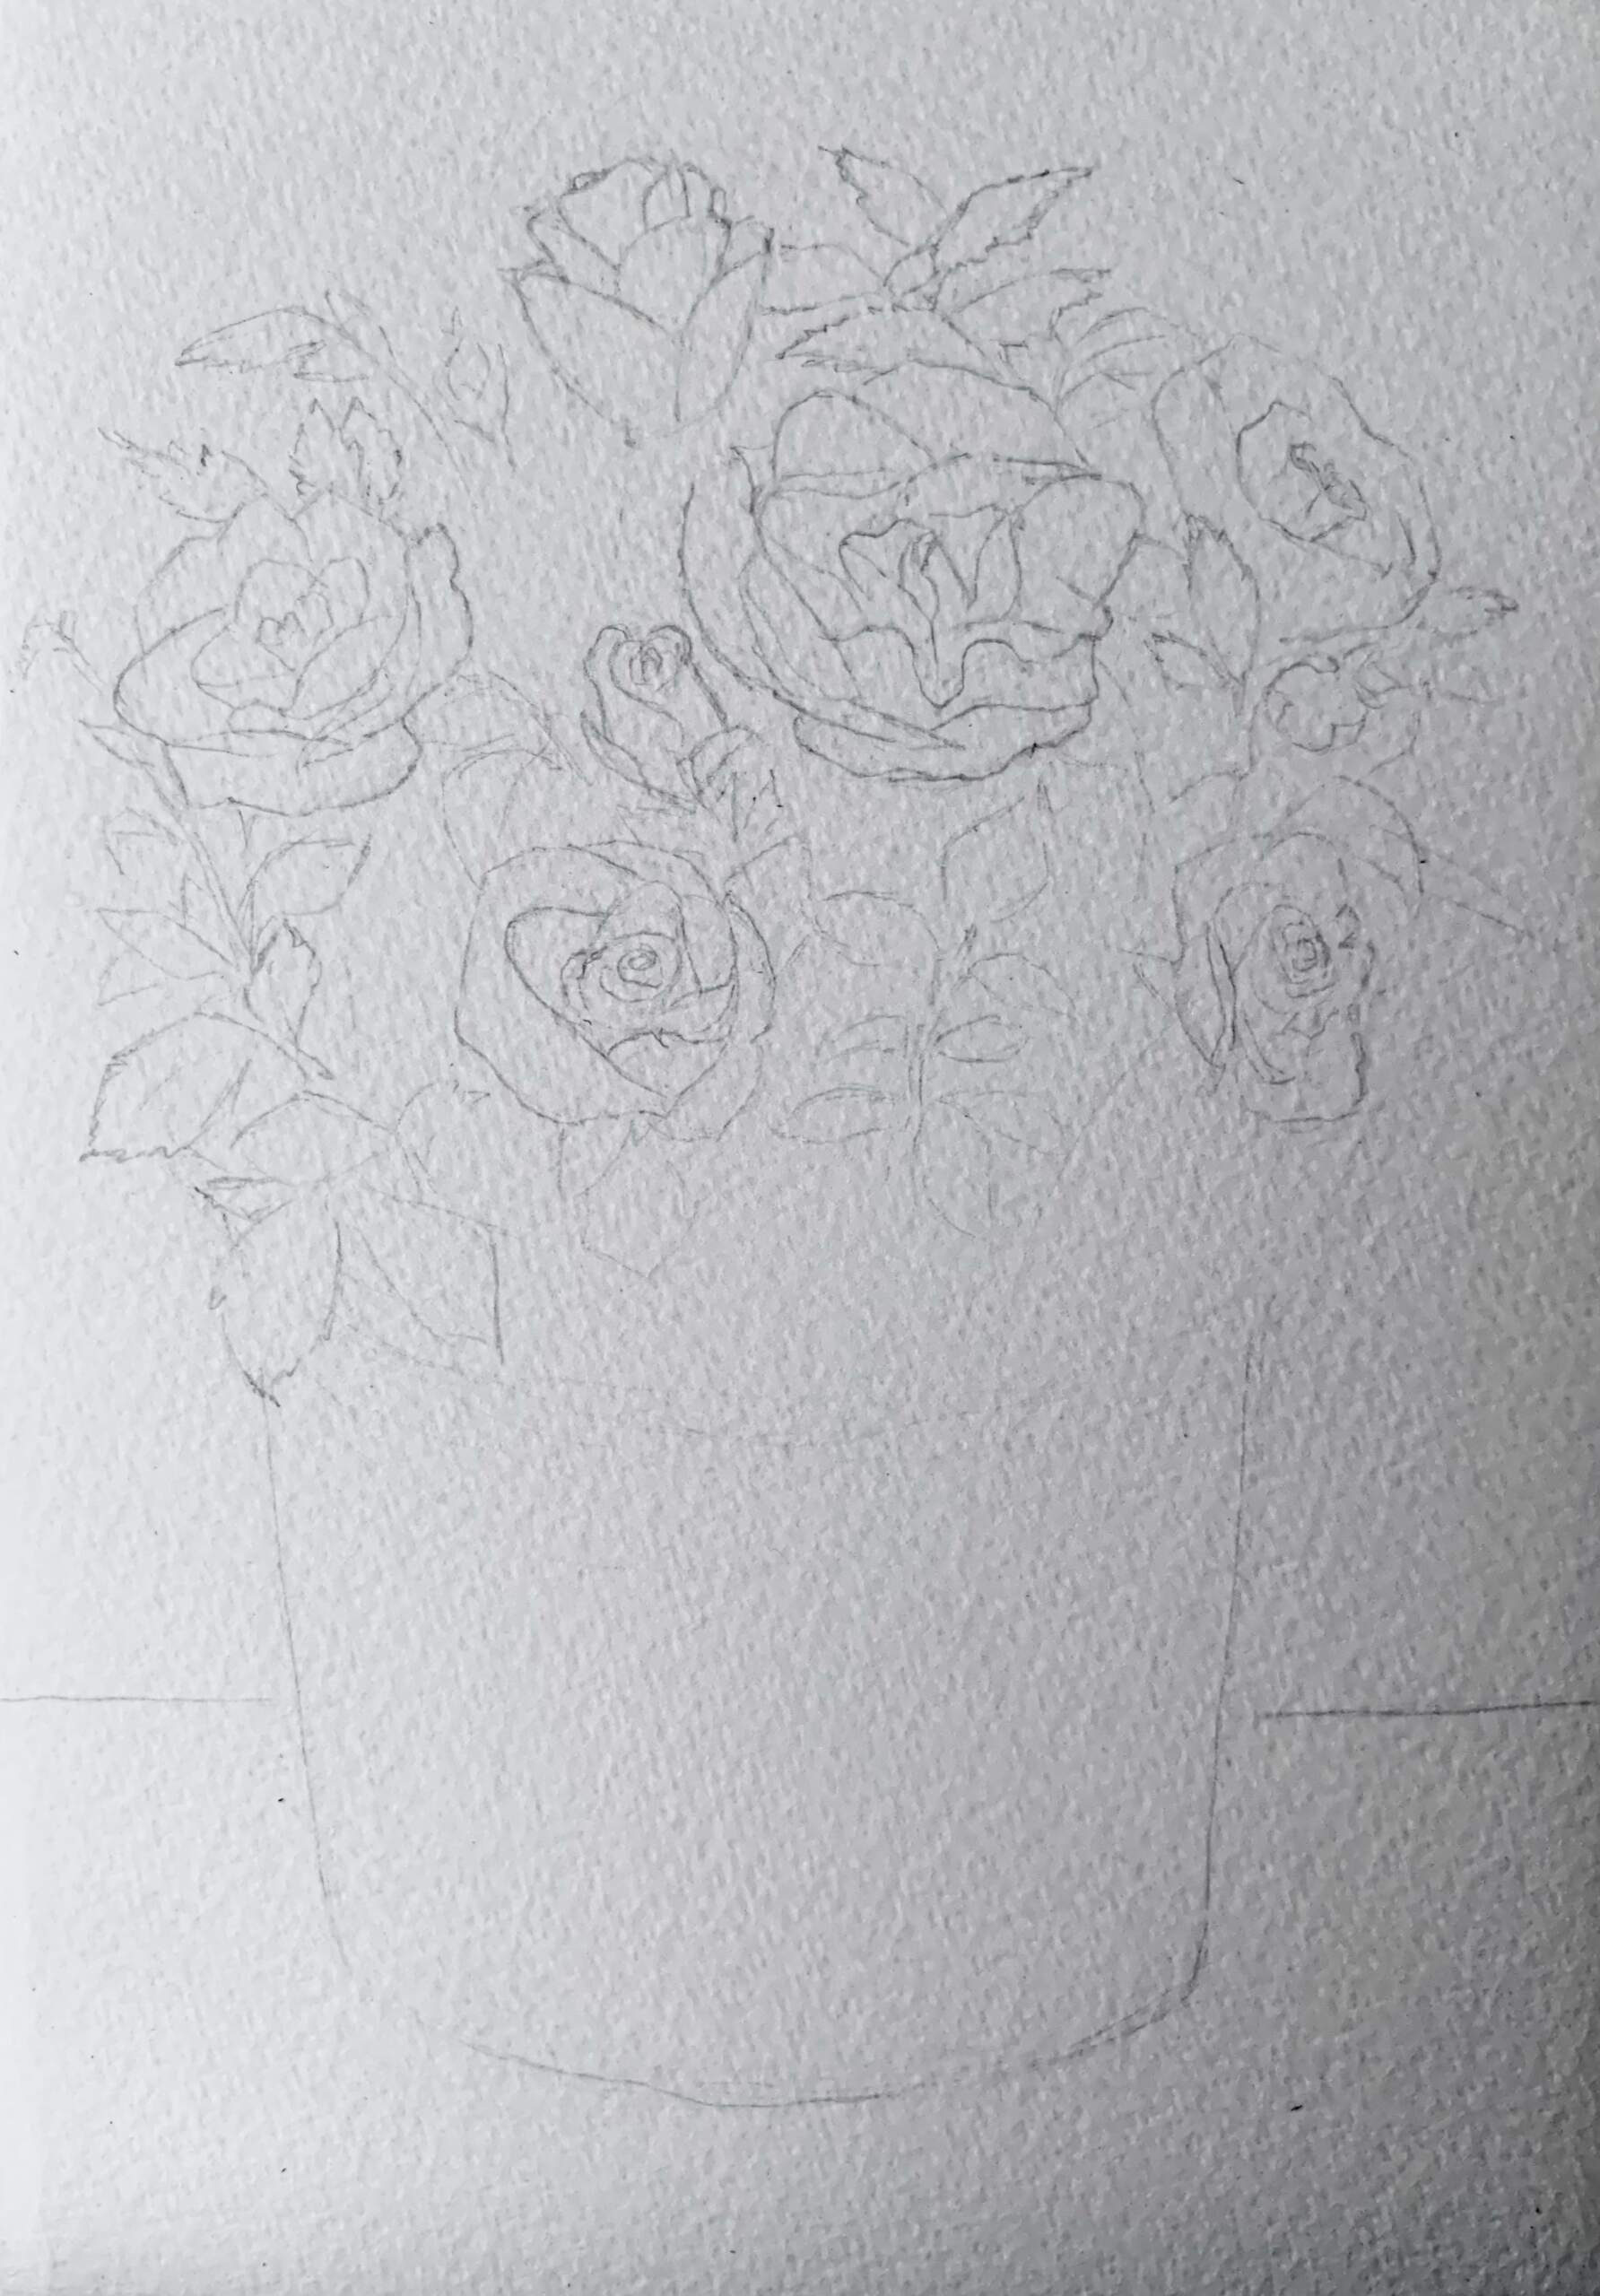
At this stage it is very important to plan in advance what the design will look like
We have a sheet of paper and at this stage it is very important to outline the design so that it will fit on the sheet of paper and we won’t regret that the sheet is too small or the design is off-centre.
So we outline the borders of our drawing and place it on the sheet of paper. It is necessary to draw large shapes of the rosebush and the pot and not to go beyond these lines in the future.
On top, draw a round bunch of roses and a pot at the bottom.
Make sure the pot is smaller than the roses, but don’t make it too small either, because you want it to have room for the rose roots, so that it will look natural.
So we draw a ball, that’s our plant, the pot underneath, and on the ball we mark our roses.
Your plant may be different from mine, so you can copy this lesson first and then draw your version. Or draw your own version straight away. The tips in this tutorial are designed to help you draw any rose pot.
Mark the shape of objects with very light lines to make it easier to erase and correct.
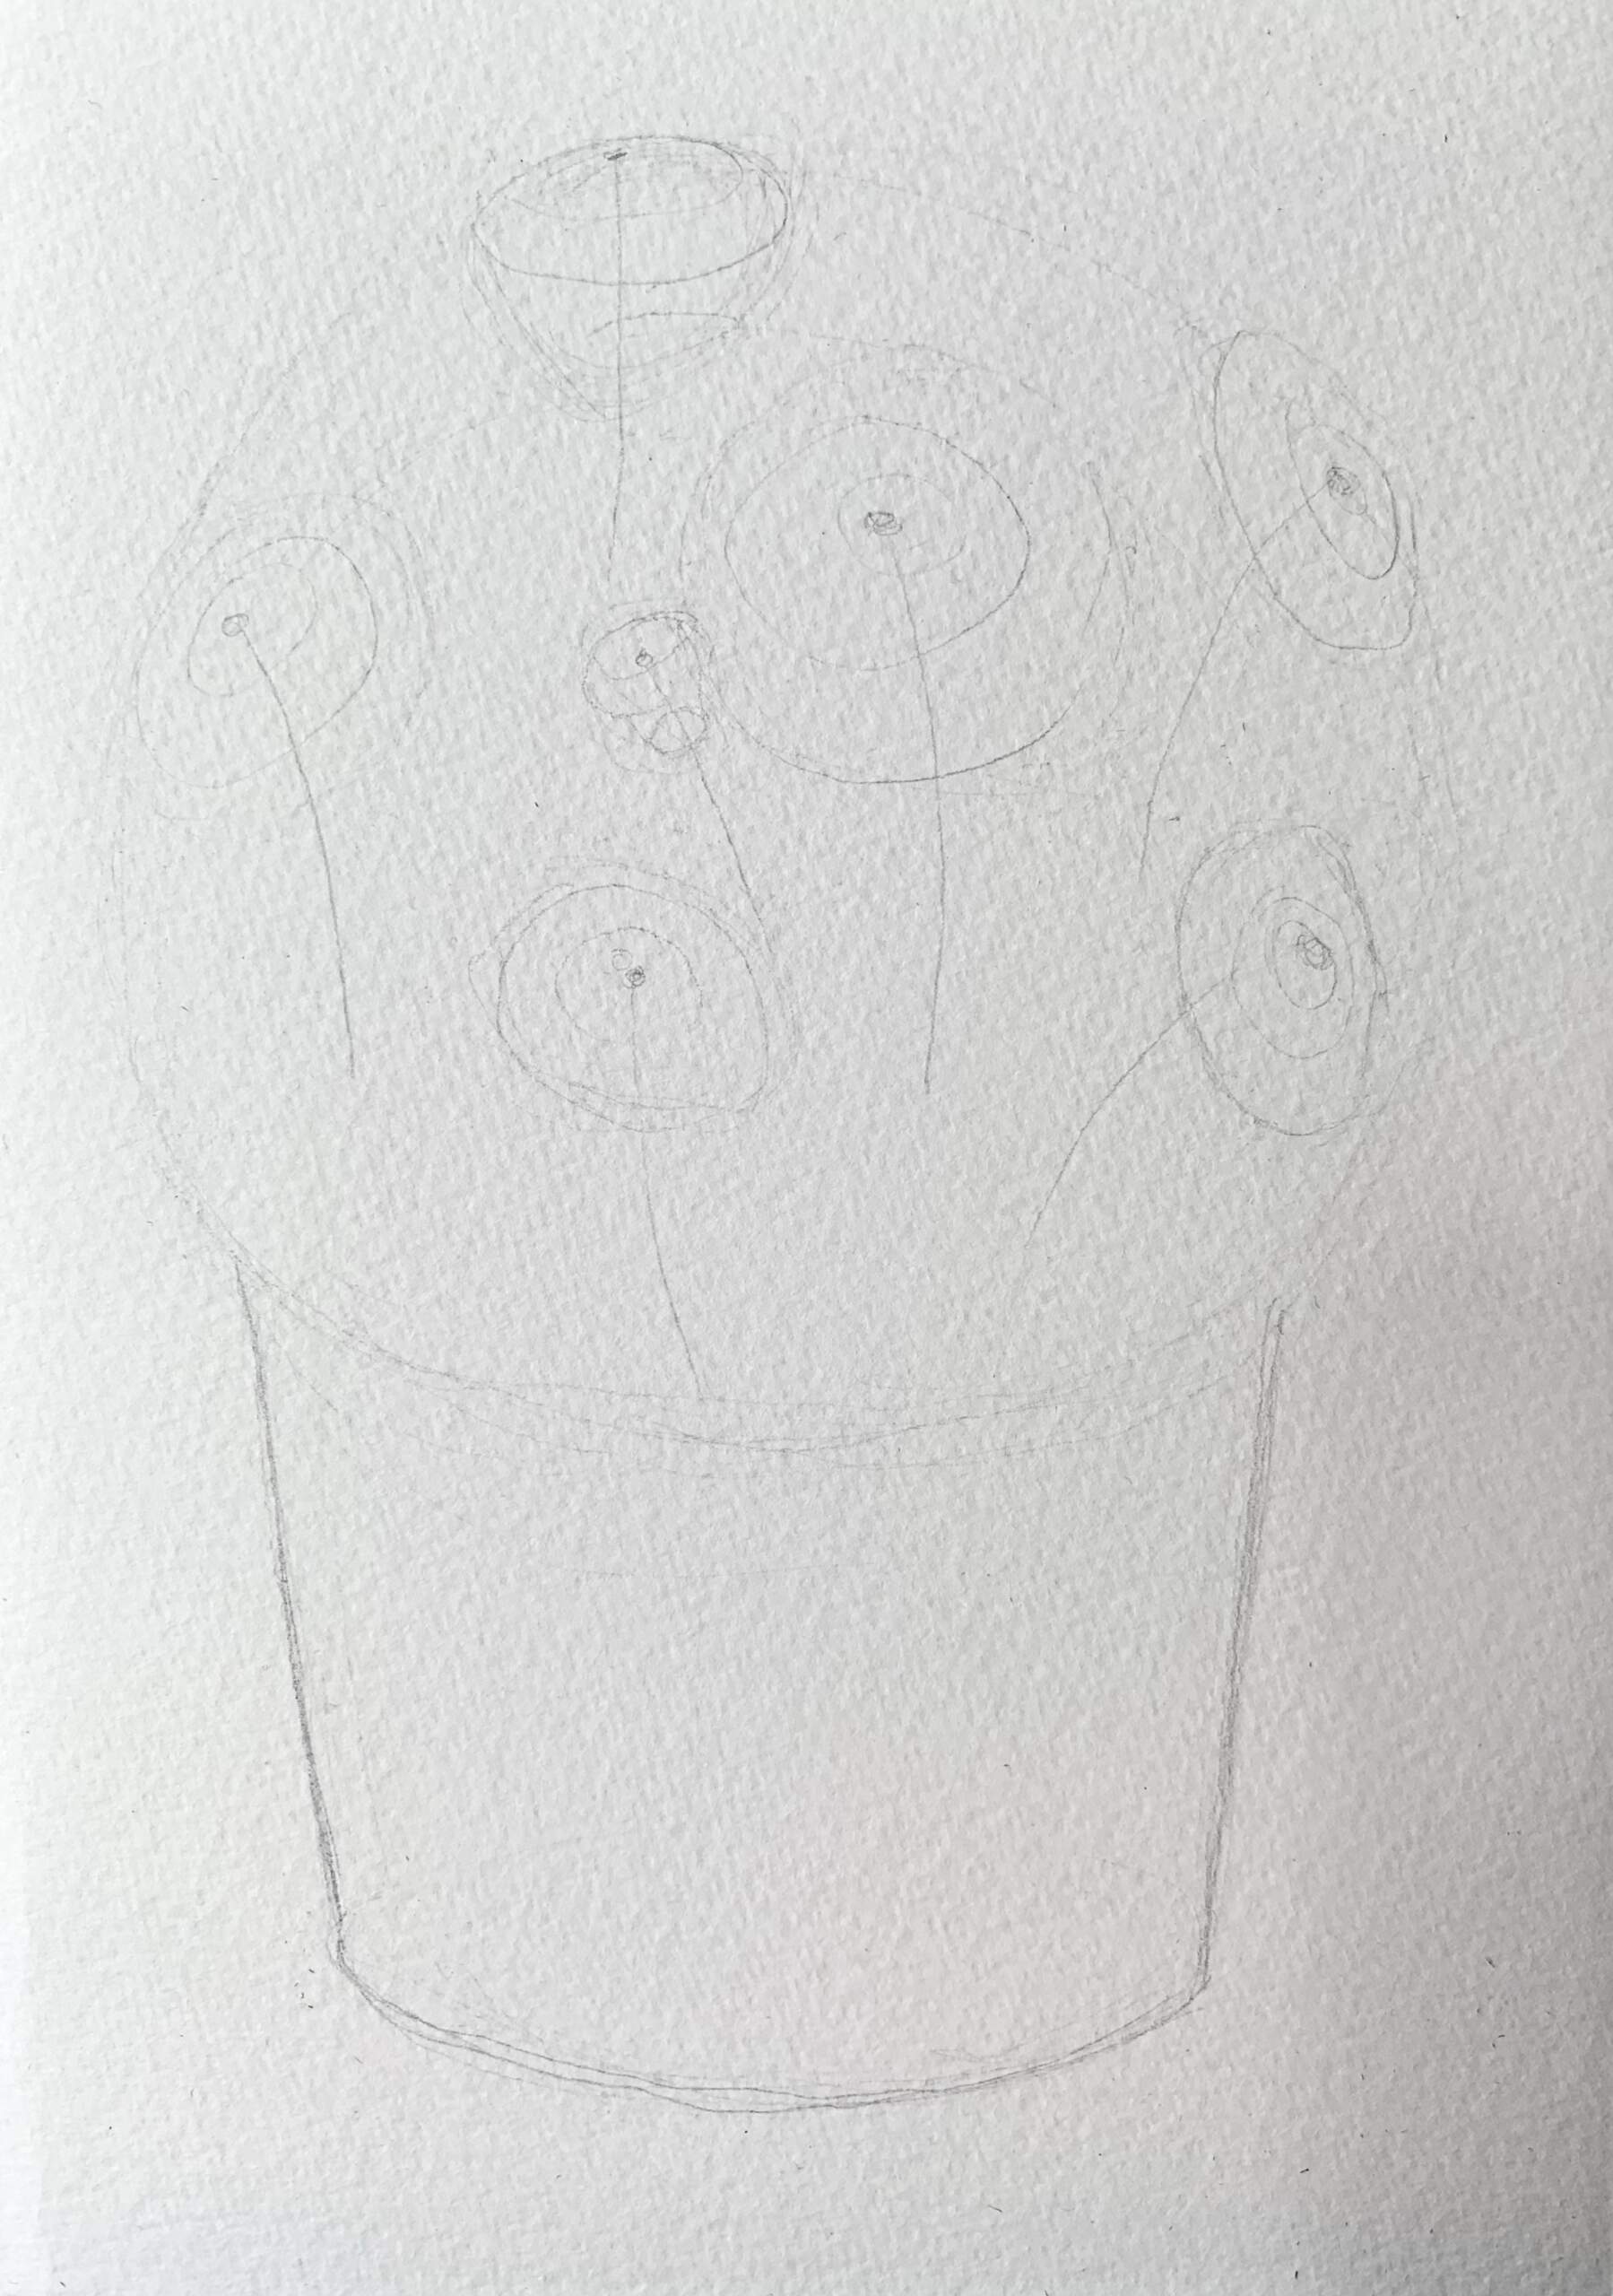
Remember about the ellipses in the rose and about the main line from the stem upwards, where the rose grows
If you outline these lines, it will be easier to draw the bud.
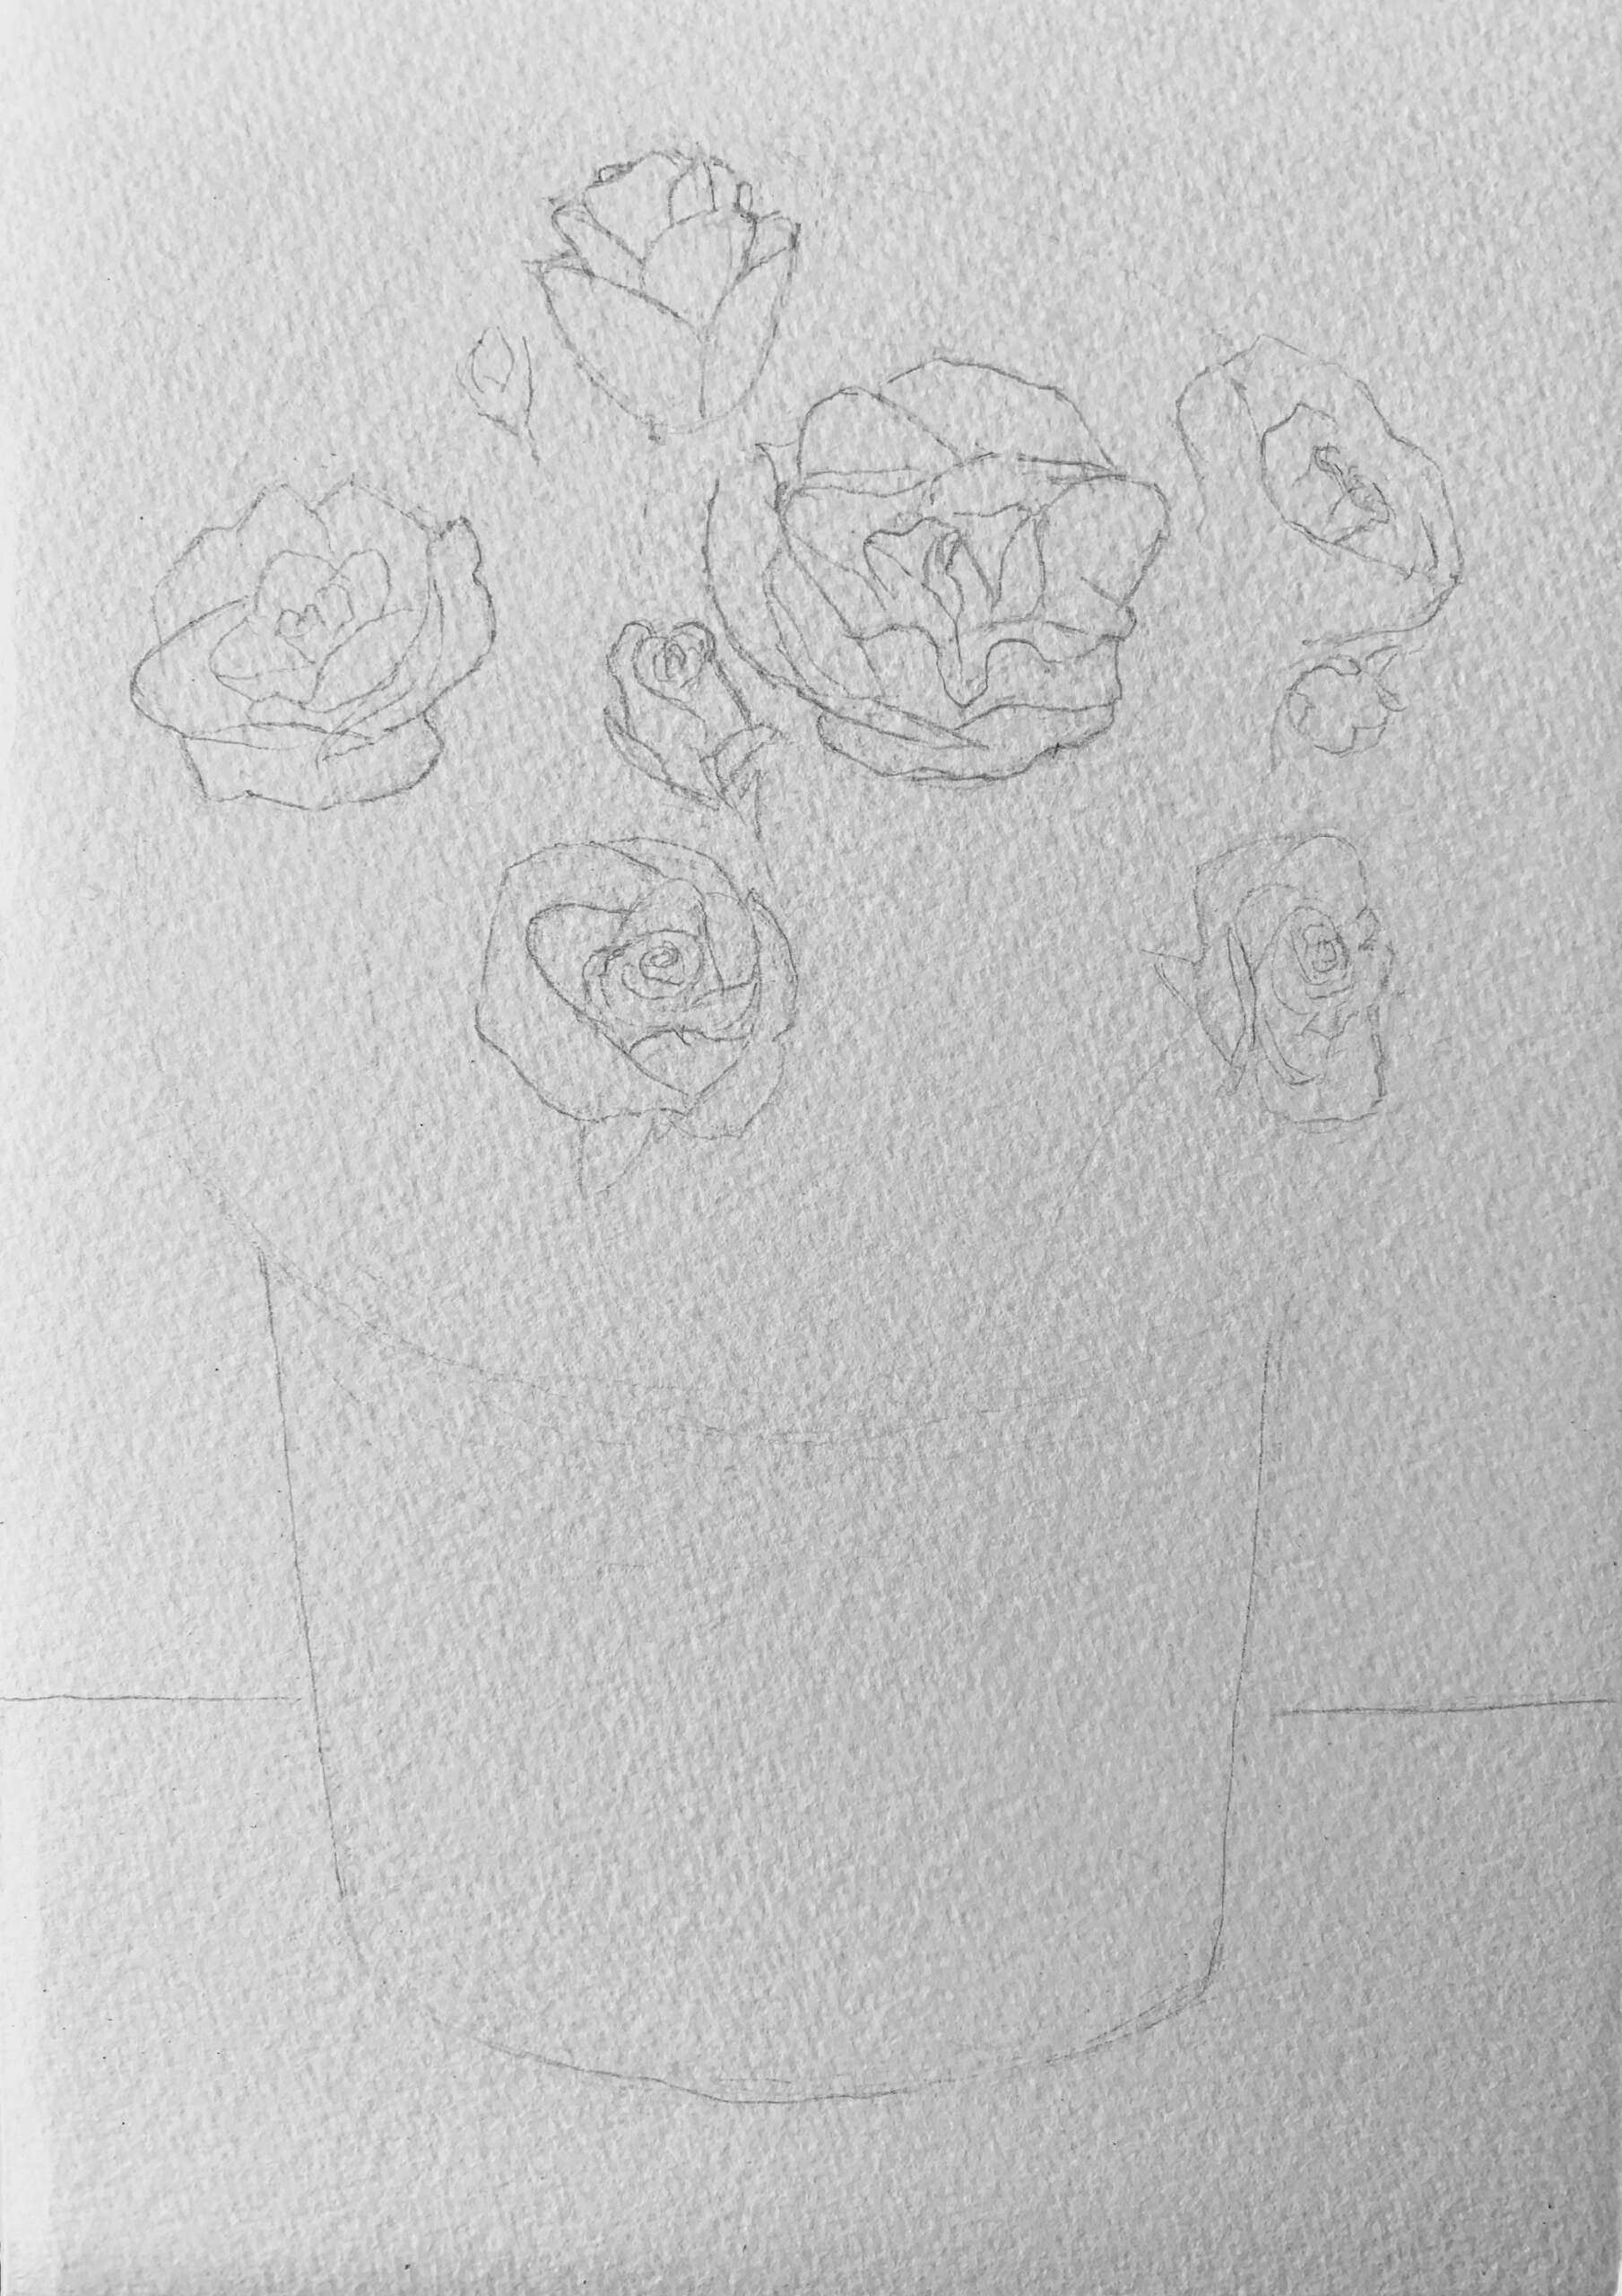
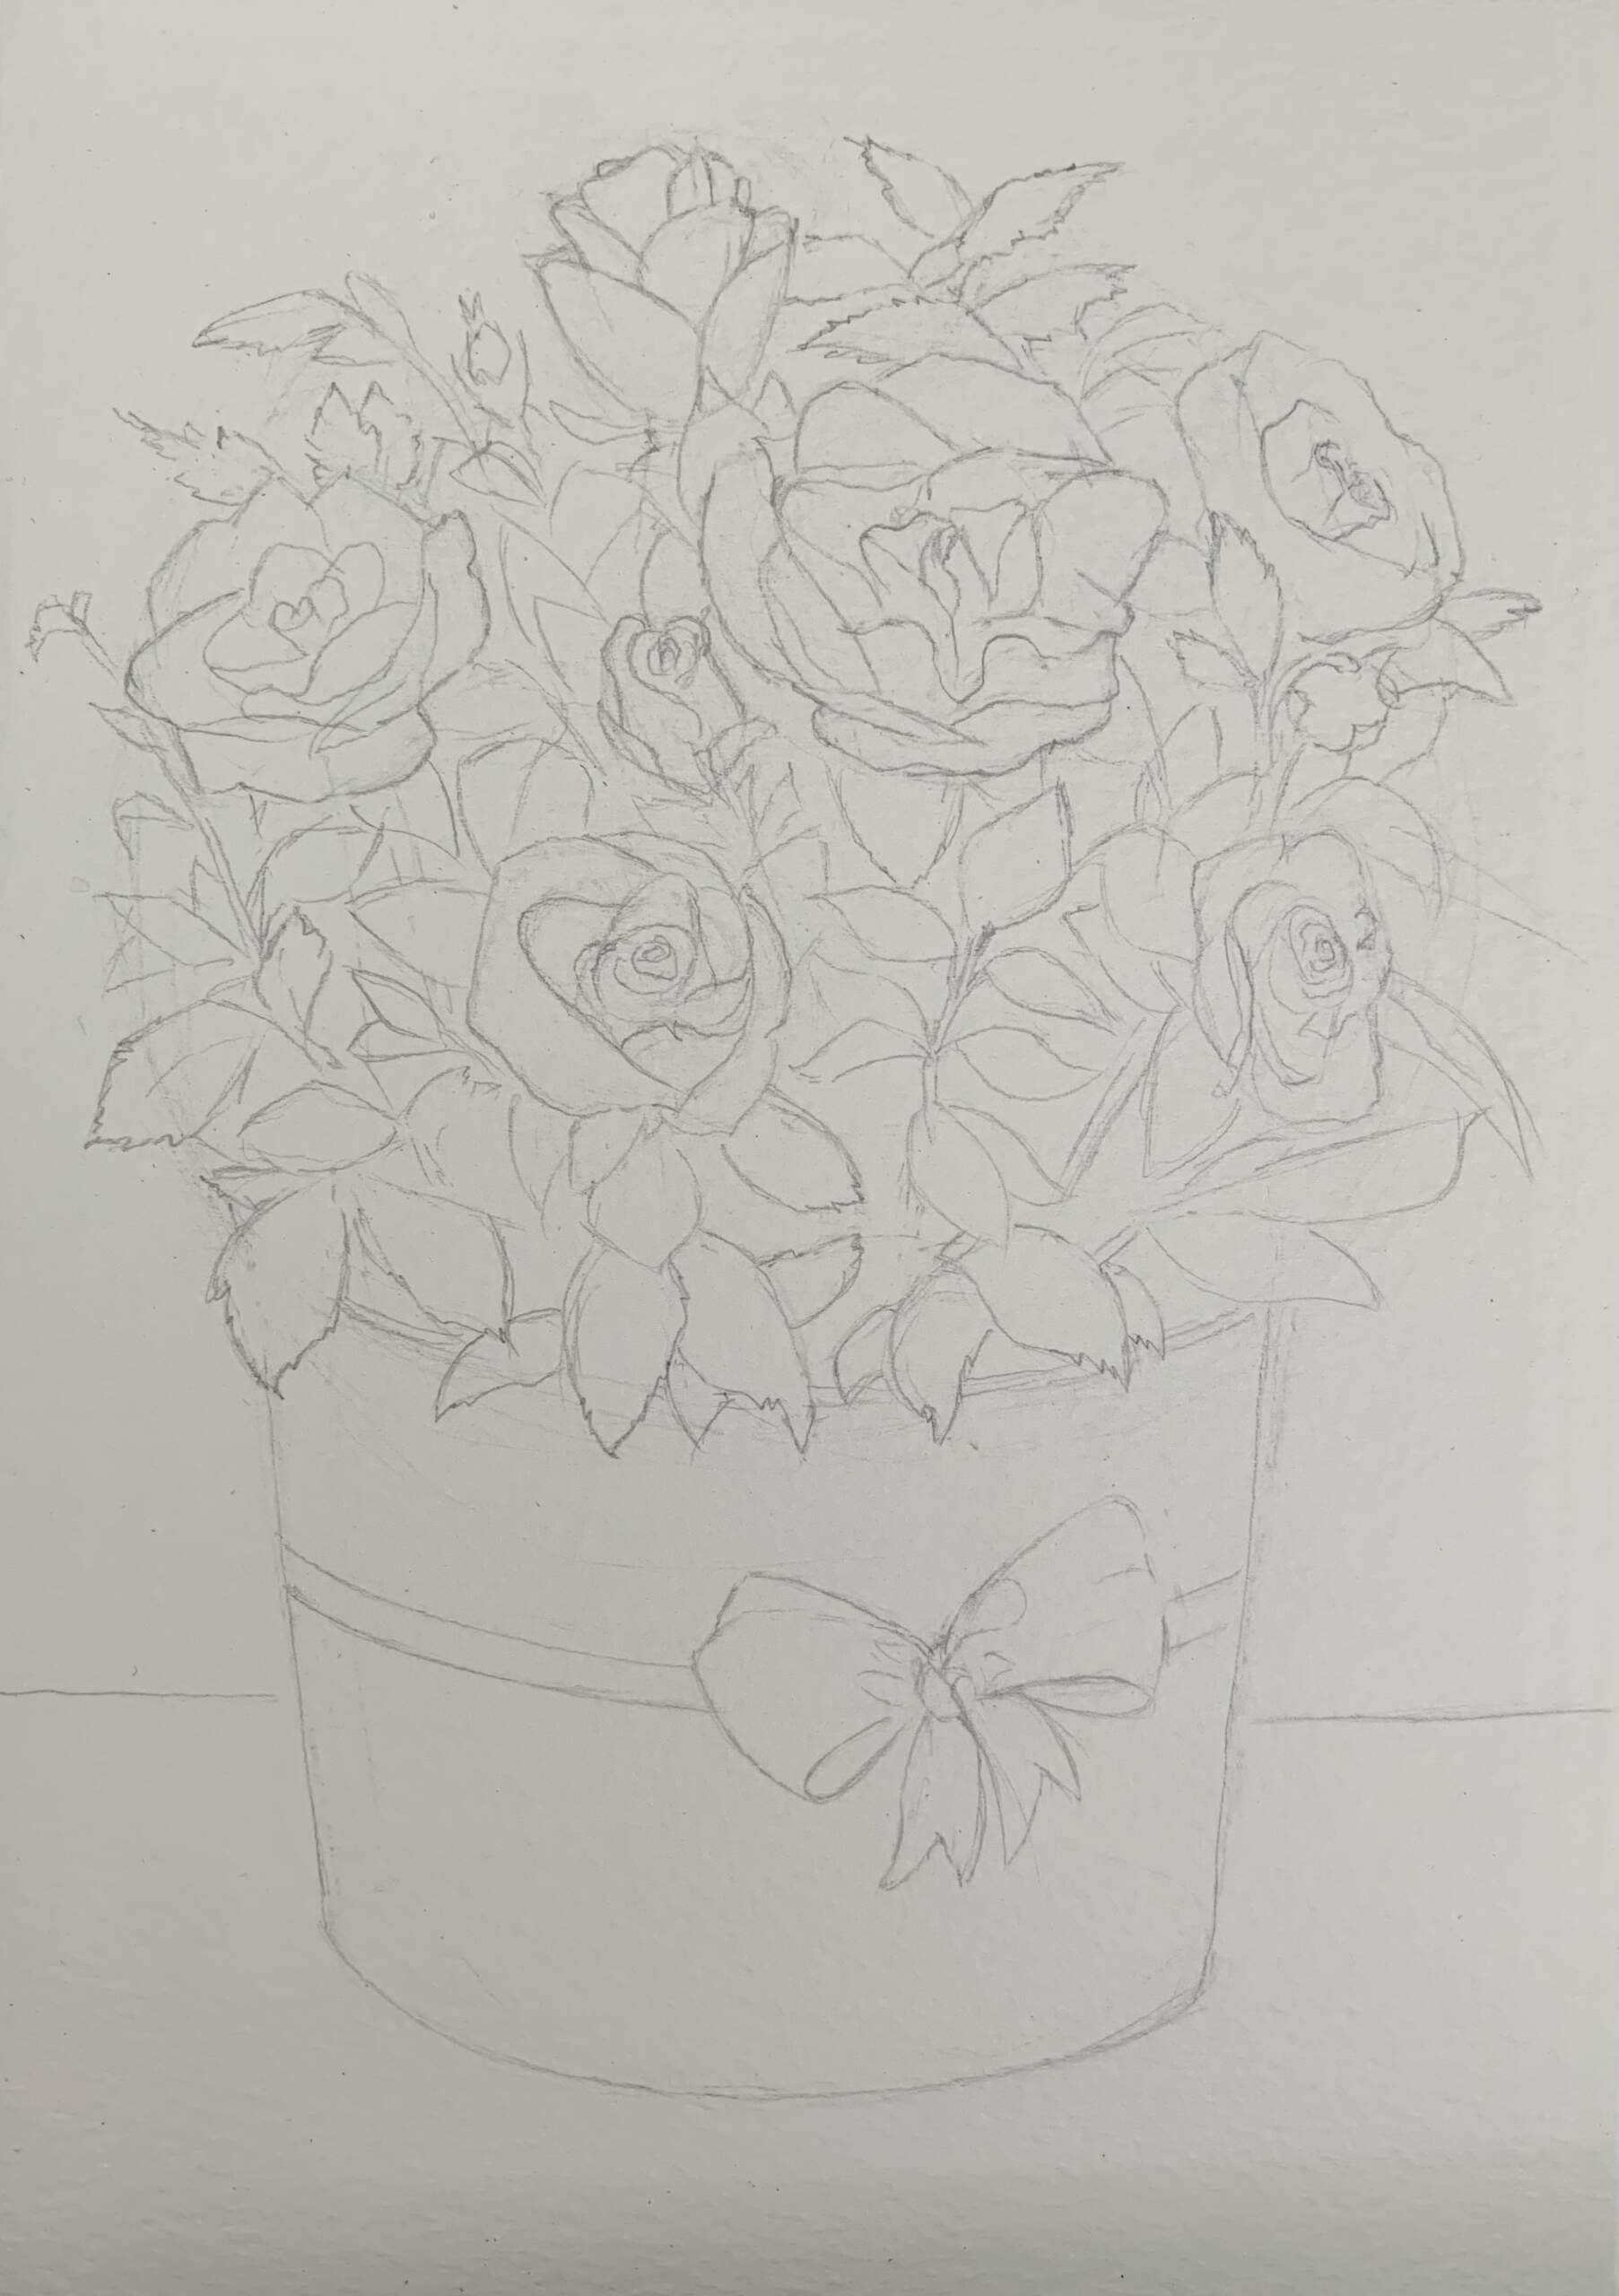
Once the basic shapes are in place, we can start drawing with more confident lines
At this stage, draw the pot and the roses. Use very light lines to look for the rose petals and correct them.
Draw the details of the rosettes. It is not necessary to try to copy all the lines and details in the roses. The main thing is to draw the main lines and show the largest petals.
Try to draw the larger roses and those that are closer to the viewer more clearly, and the farther ones more easily, and with less detail.
This artistic technique is related to the property of our vision, we see best what is in focus, and everything else remains blurred. The air perspective also plays a role.
There is air between us and our objects. You can see it in a landscape, in which distant objects appear hazy and appear more muted while the objects near by are clear and bright.
In still lifes, the technique can also be used to make an image look more alive and artistic.
Draw the foliage of our vase
Begin with a light line, then draw some of the bigger leaves. How to draw a plant with many leaves. It is not necessary to copy everything as in the photo and in real life.
It is enough to choose the most beautiful leaves or interesting shapes and accentuate them and draw the rest as if they were somewhere behind or in the shade. In the end, only the most beautiful leaves and twigs will remain in the picture.
The branches are now complete.
Let’s add a bow to the pot to make the drawing look more festive
Feel free to add whatever elements you want or think will make the design more beautiful.
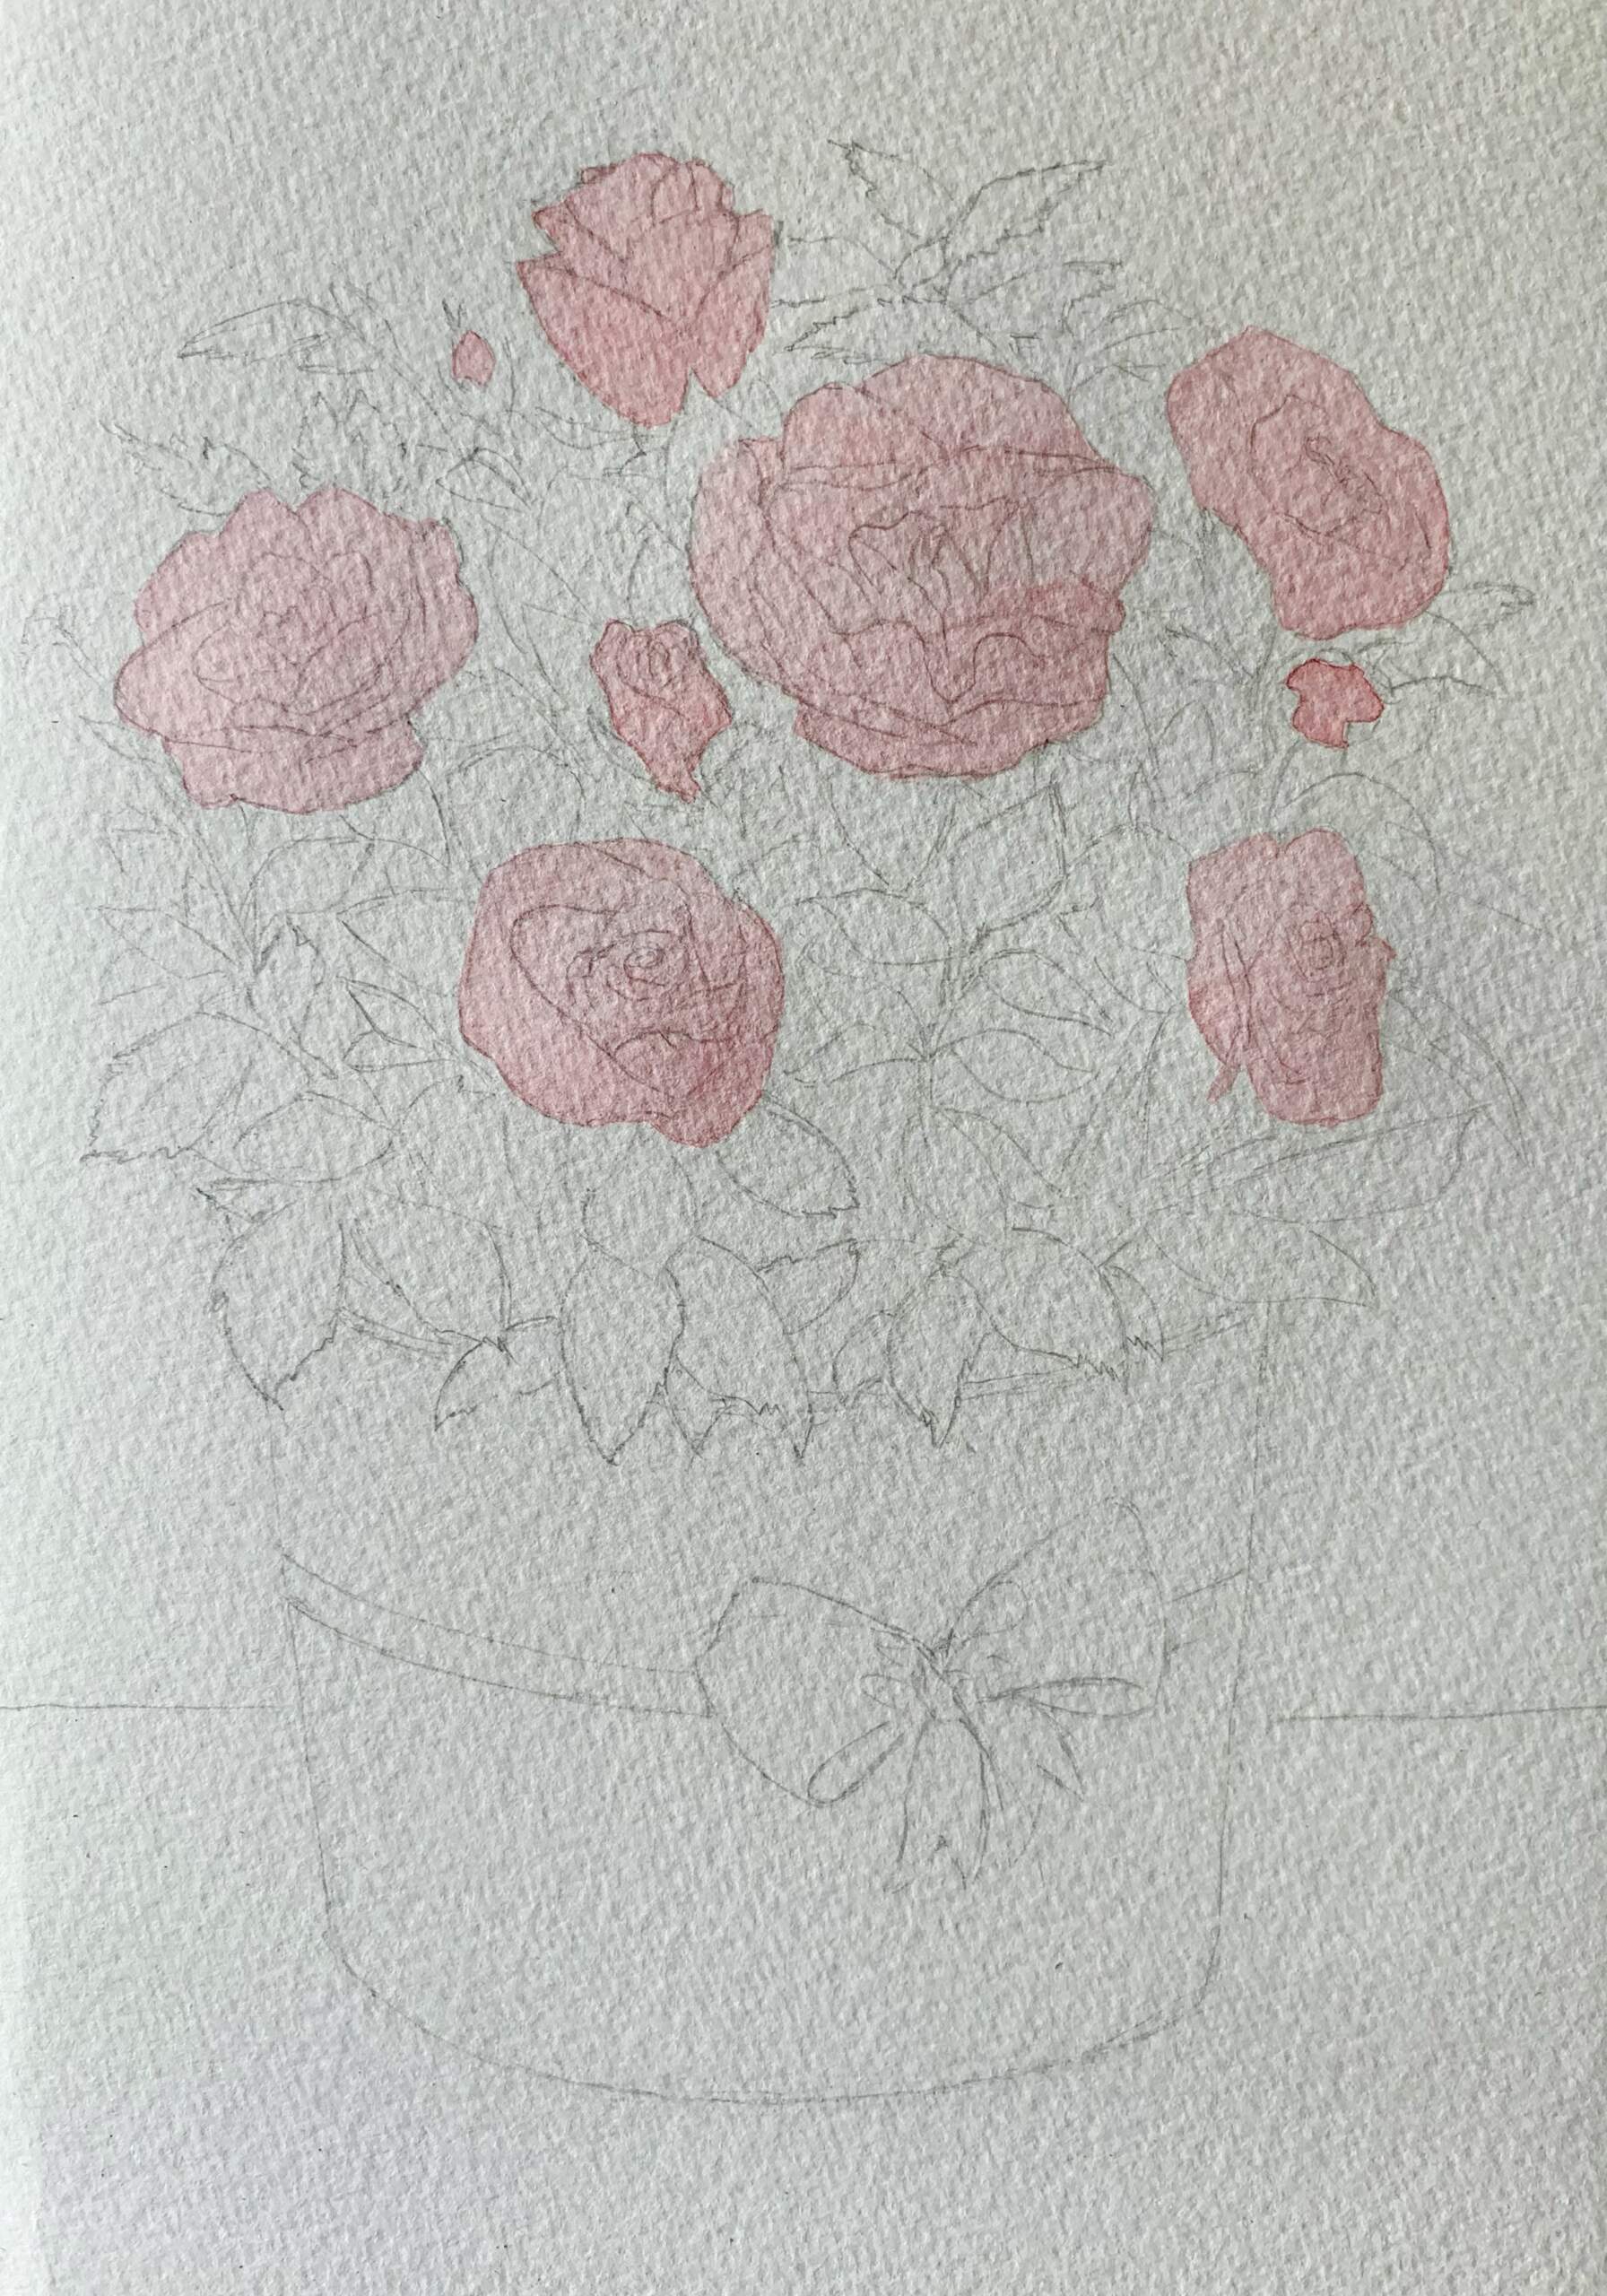
Now colour our picture
It is best to decide from the start what color the objects, leaves, pot and bow will be and paint them in light watercolour.
There are some tricks to make it more lively. If the lighting is cool in cloudy weather, the shadows will be warm; if the lighting is warm, the shadows will be cool.
In this drawing, for example, the light will be warm and the shadows will be cold. So we are planning right away that the light will be warm shades and the shadows will be cold shades.
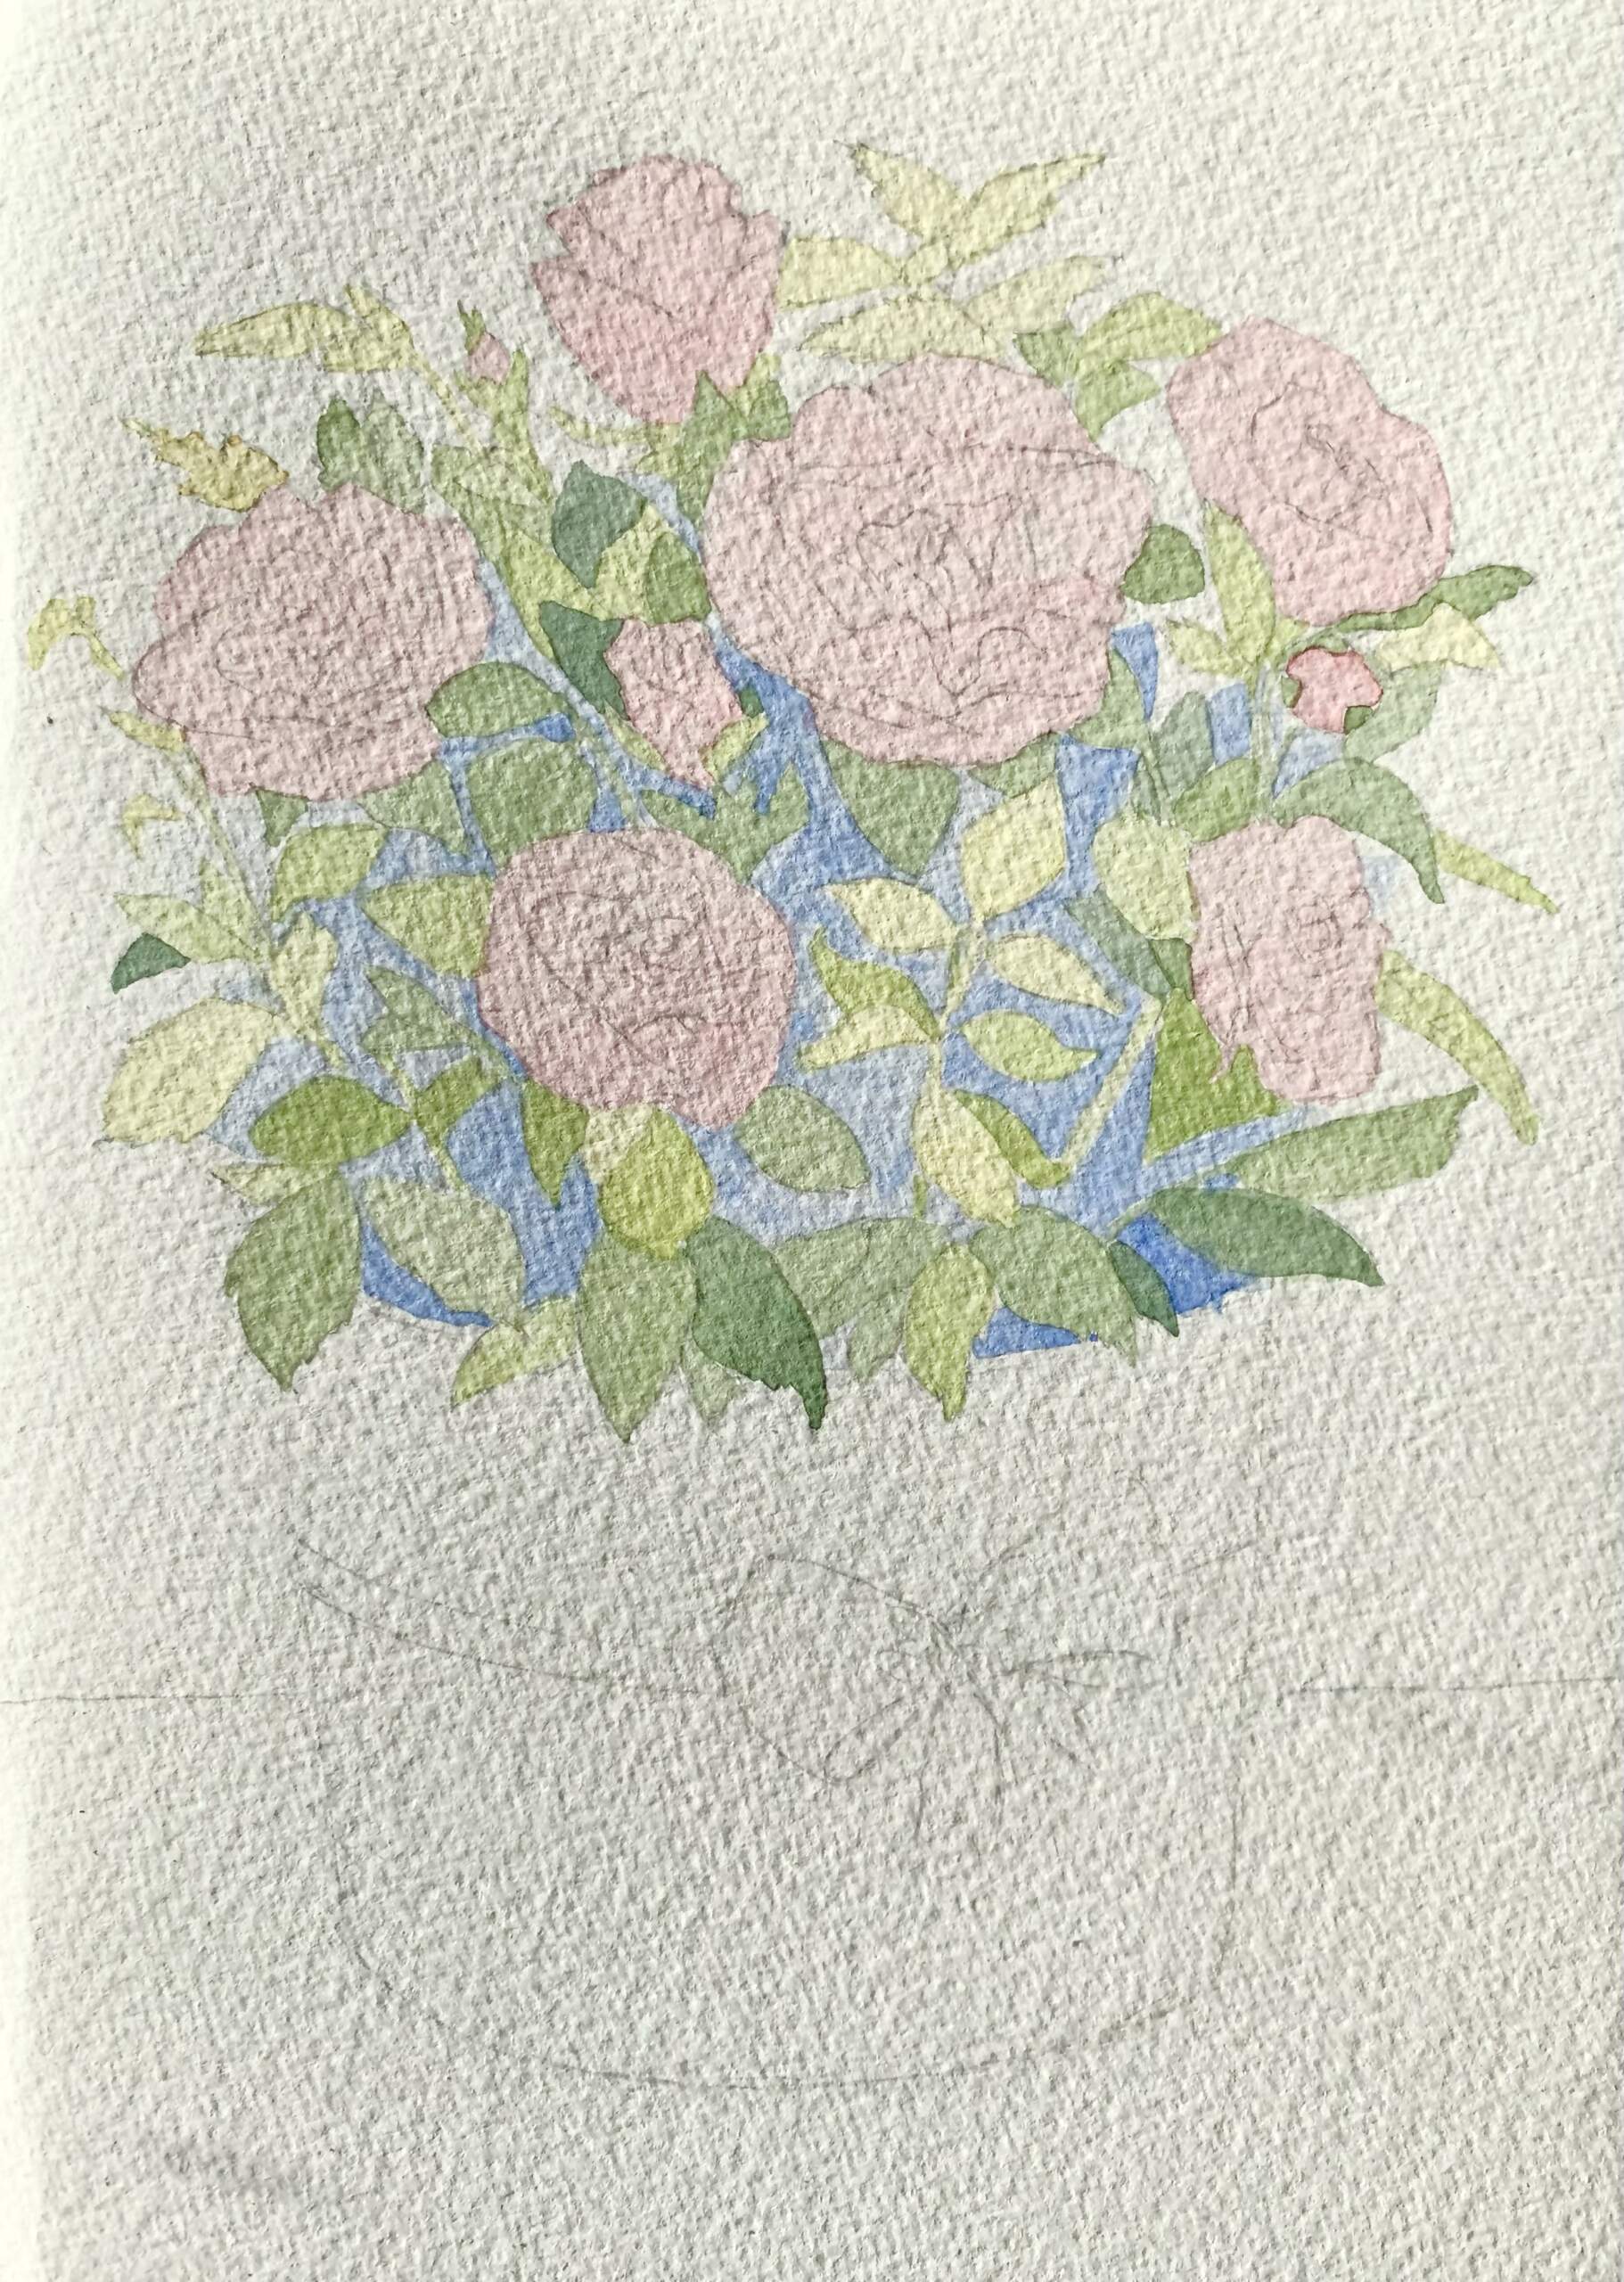
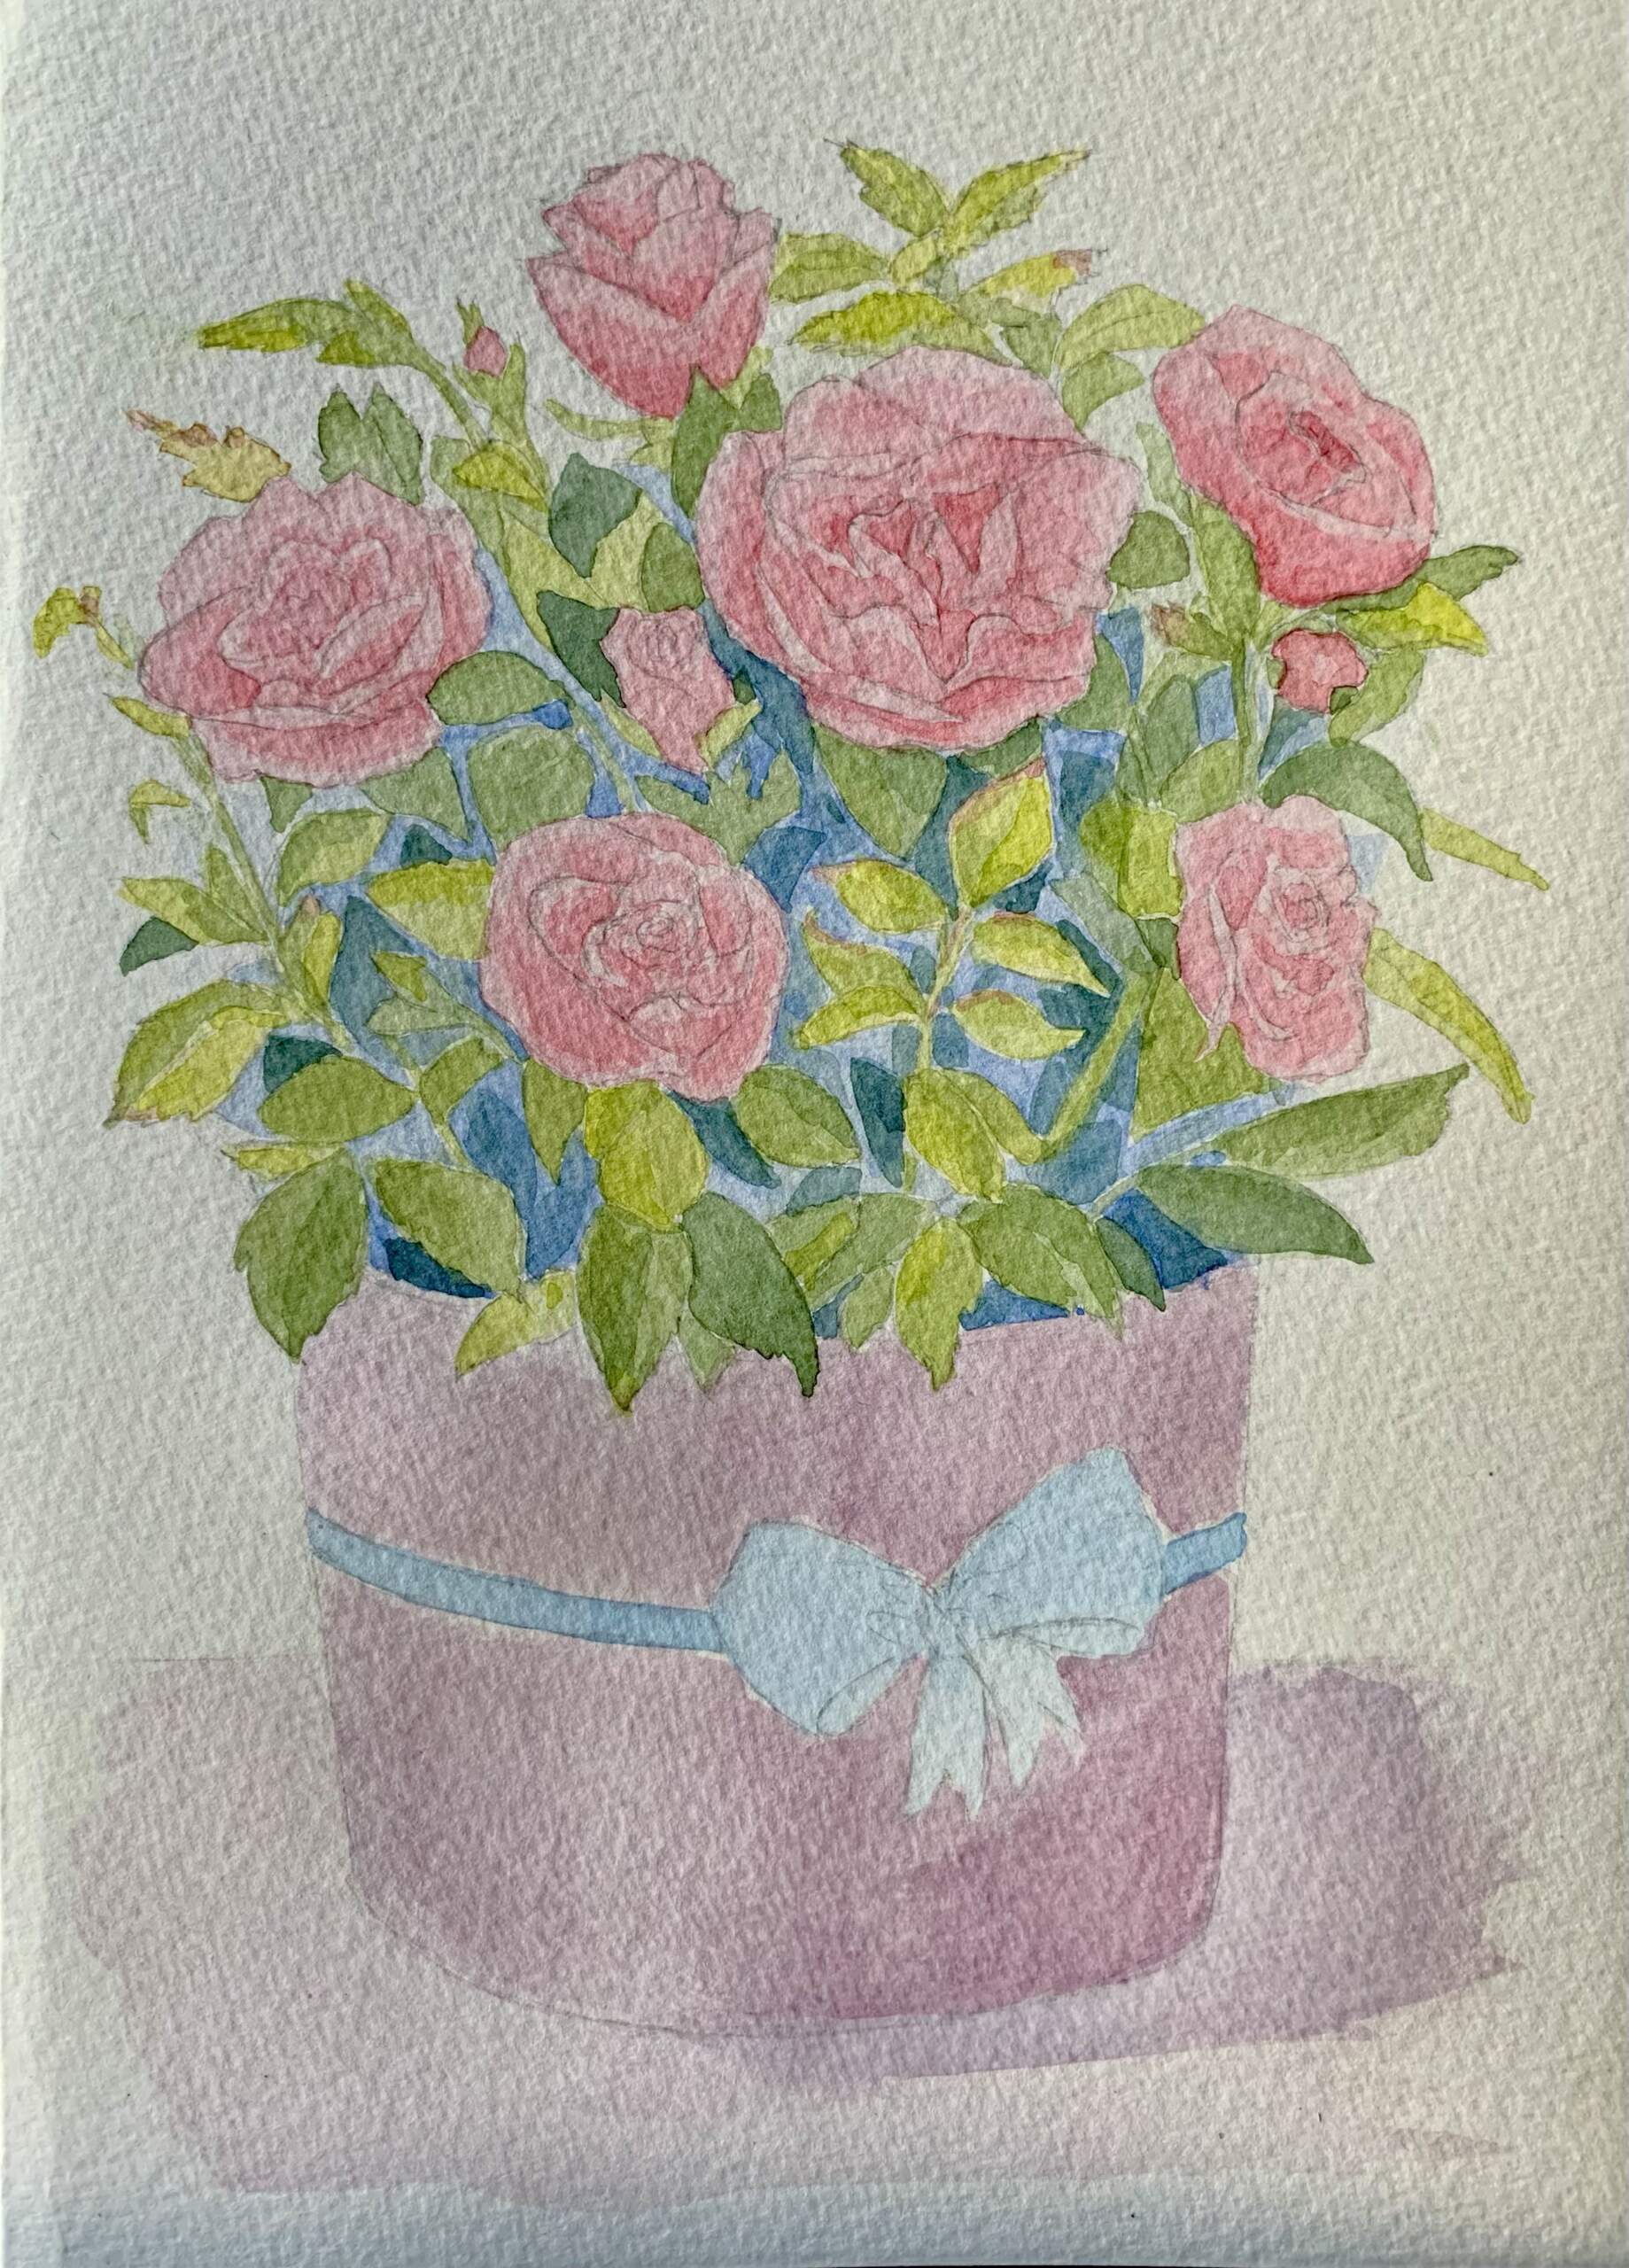
So, we’re going to draw the basic colours in watercolour.
Let’s start with the roses.
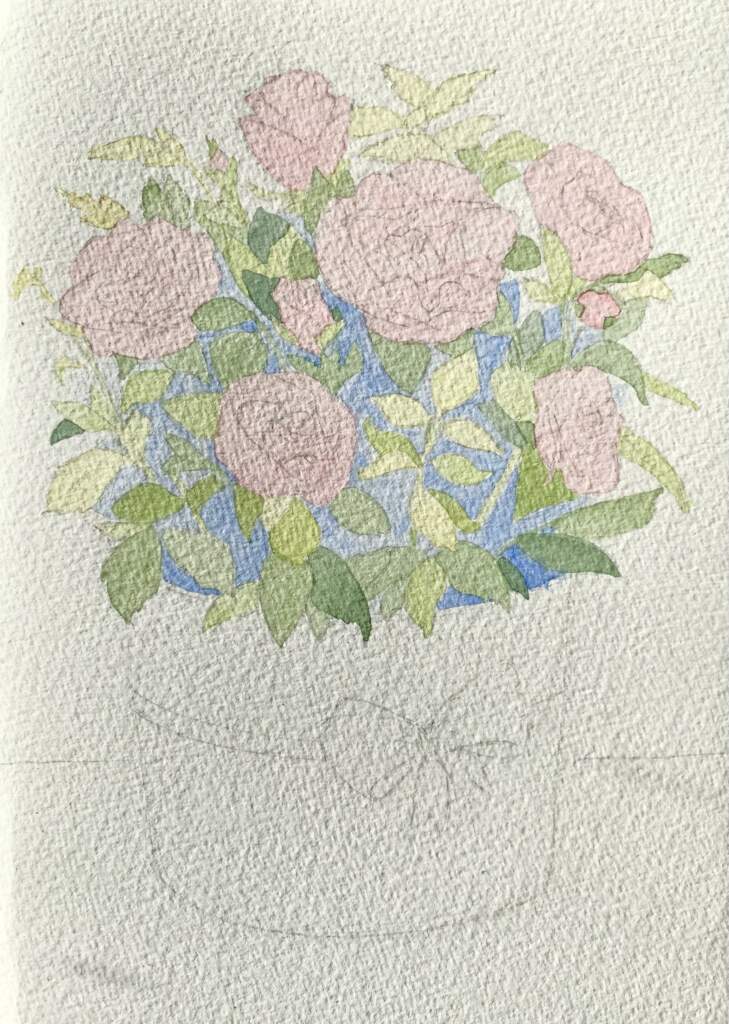
Now let’s draw the green leaves
First lit with a warm green, and in the shade with a cool colour. Watercolour is a transparent paint, so we need to paint from light to dark. We need to outline the lightest areas first and then add tone and shade.
If you have unintentionally drawn too dark, that is ok. Take a clean brush, wet it and go over the dark area to wash away some of the colour.
This will make the area lighter.

Draw blue leaves of greenery in the shade
Don’t worry if you are not happy with all the steps. That’s fine. But as you continue to add detail, you will like the drawing again.
Watercolour gives free rein to your creativity, so be free to draw neatly or carelessly, watercolour will show your character and handwriting and show your personality.
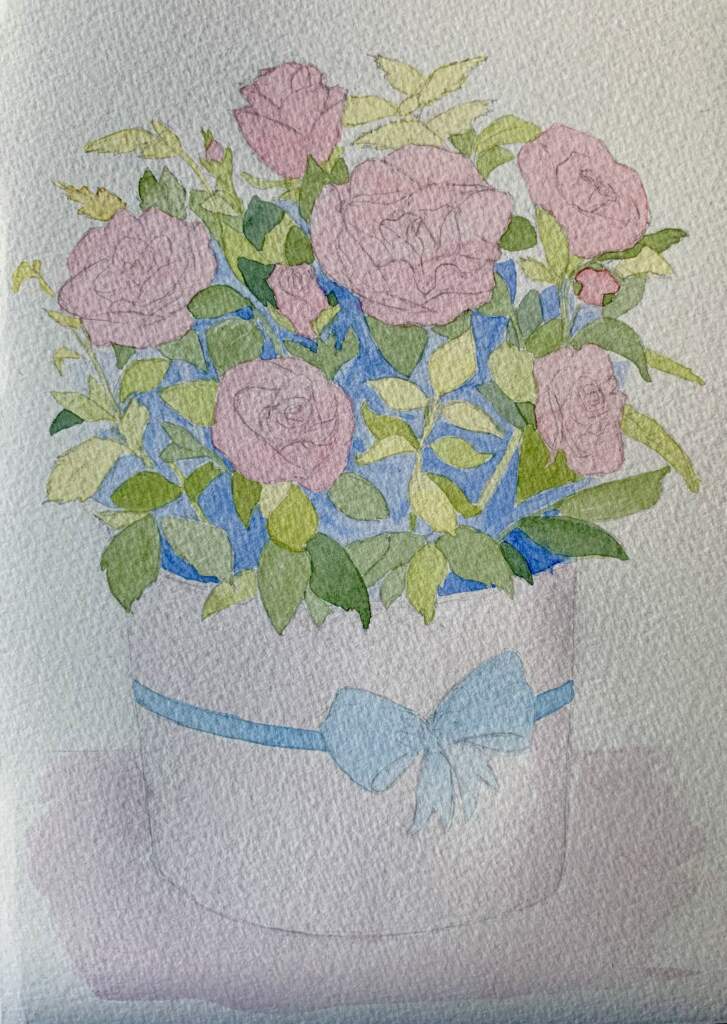
Draw with basic colours and just blue foliage in the shade.
Draw the base colour on the pot and table
The drawing now looks complete at this stage, because all the areas are easily drawn.
Next, continue to work on the details

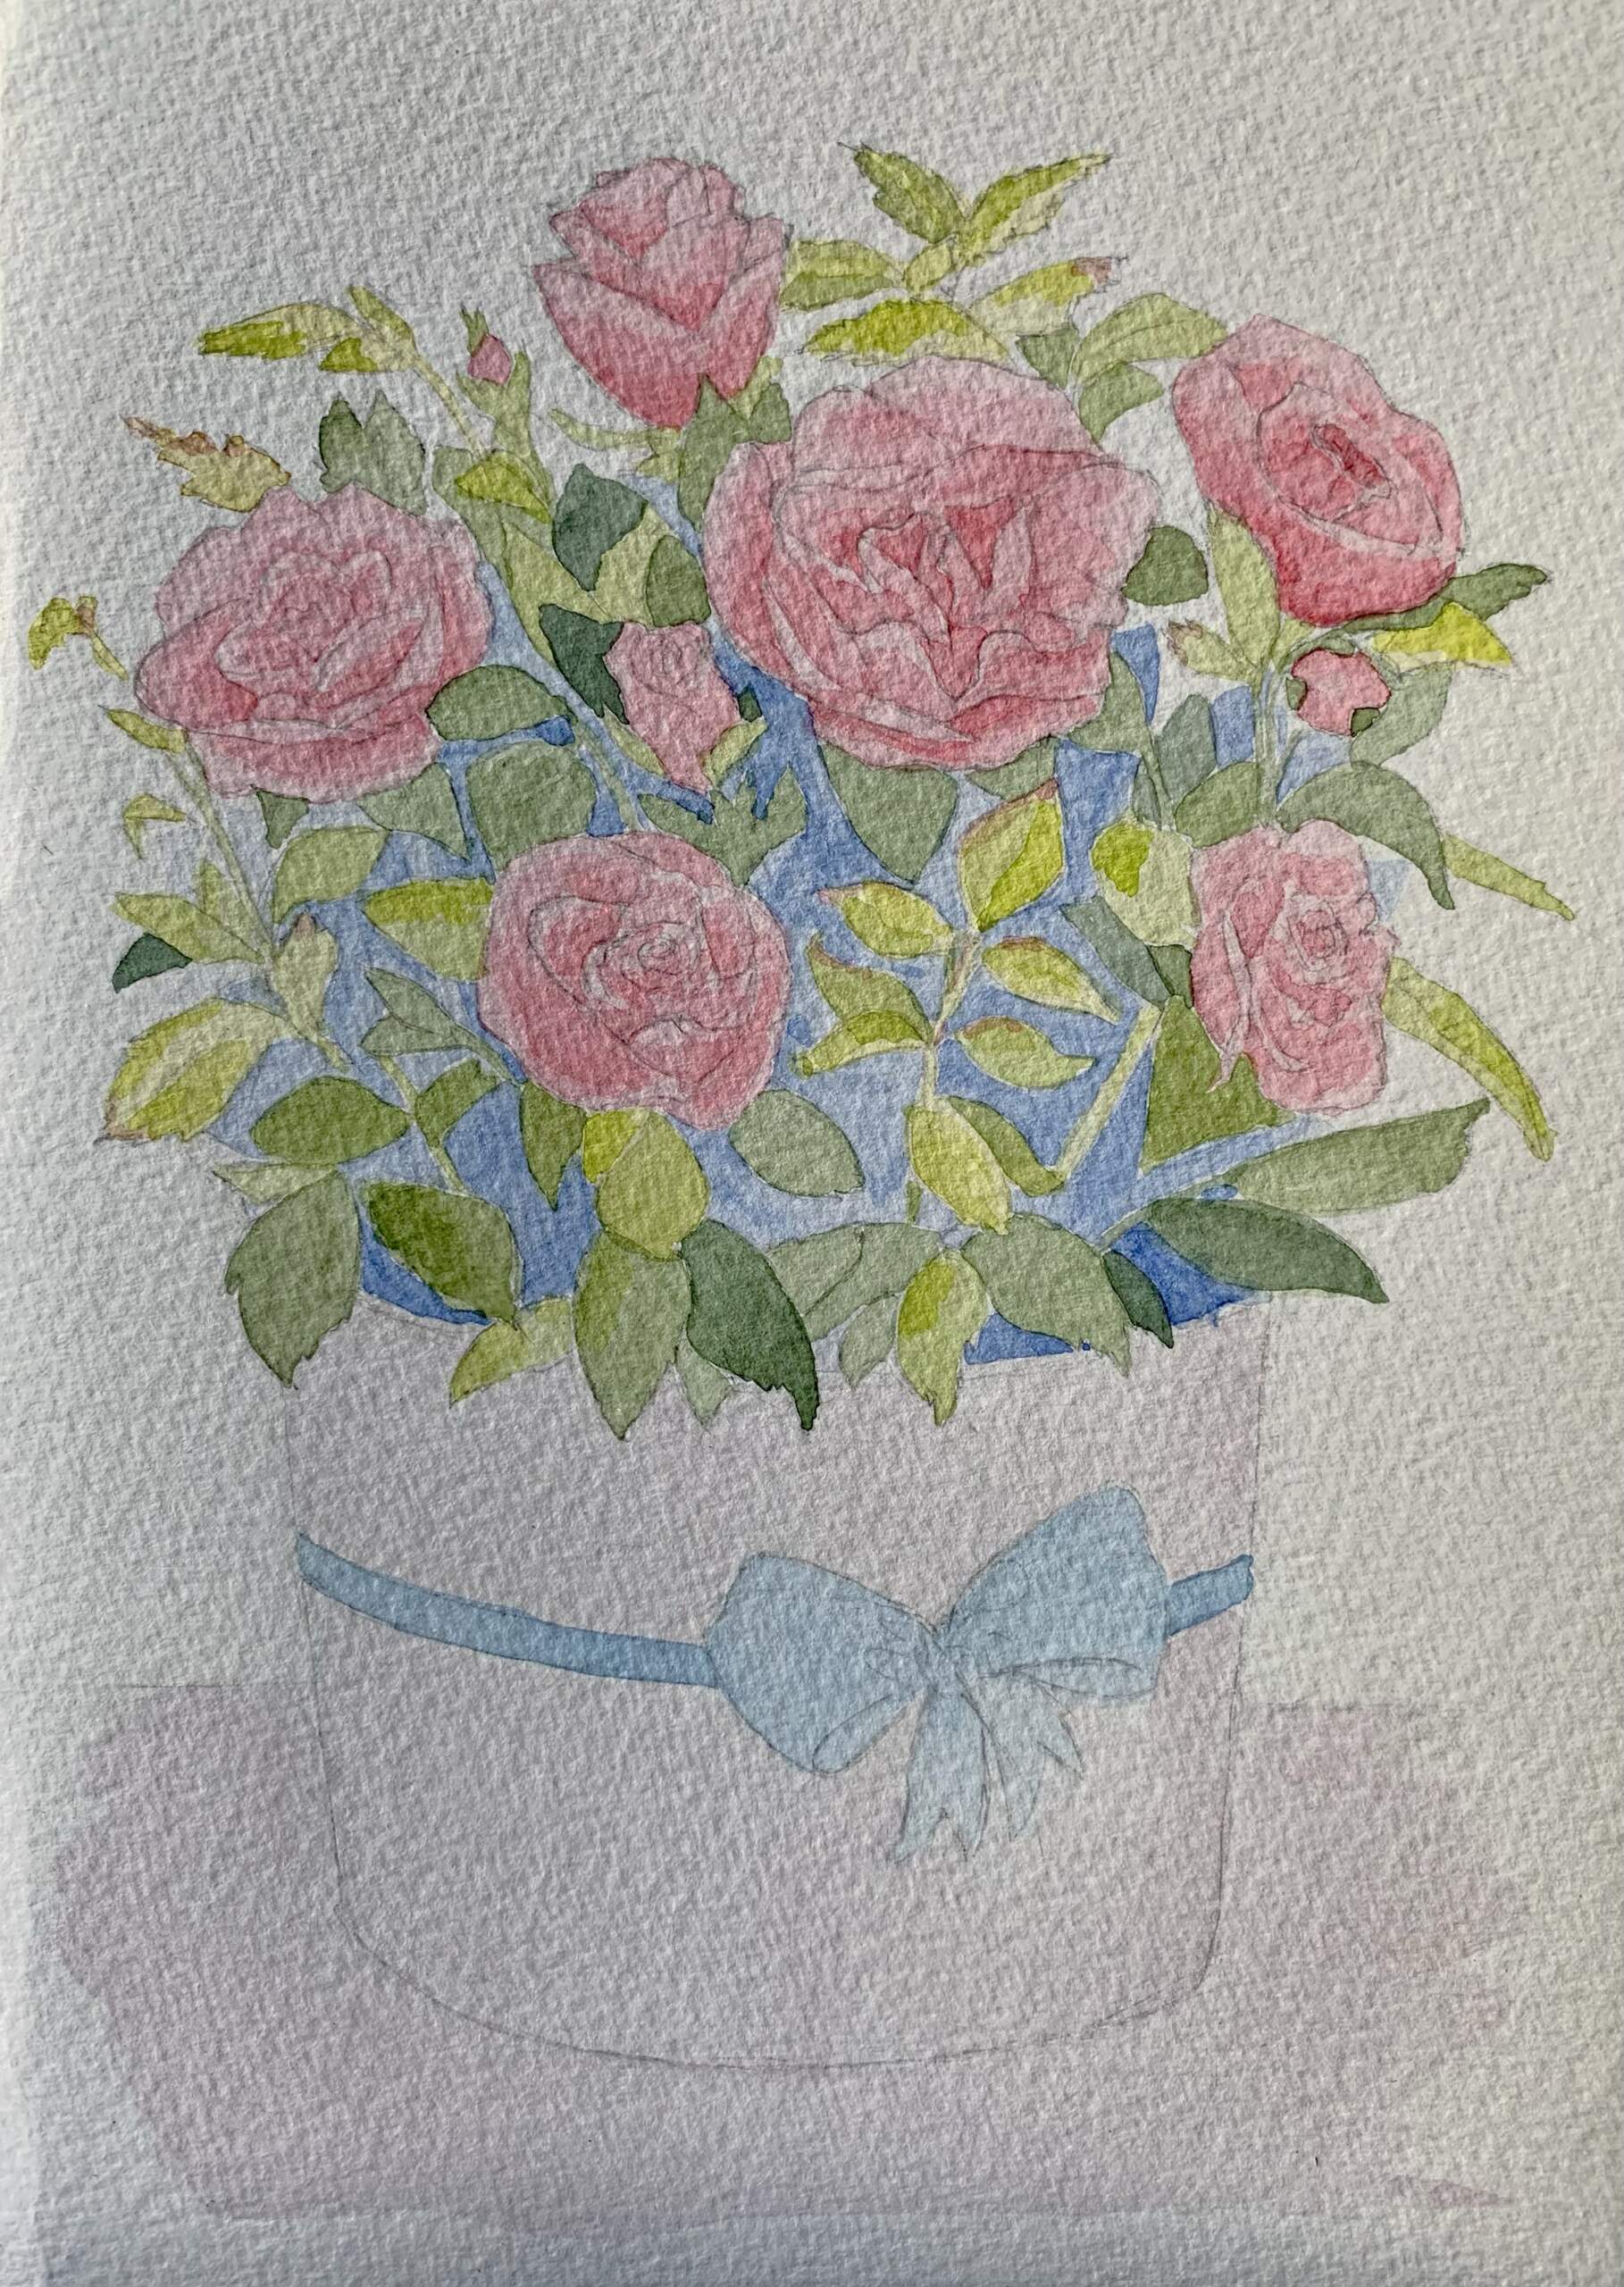
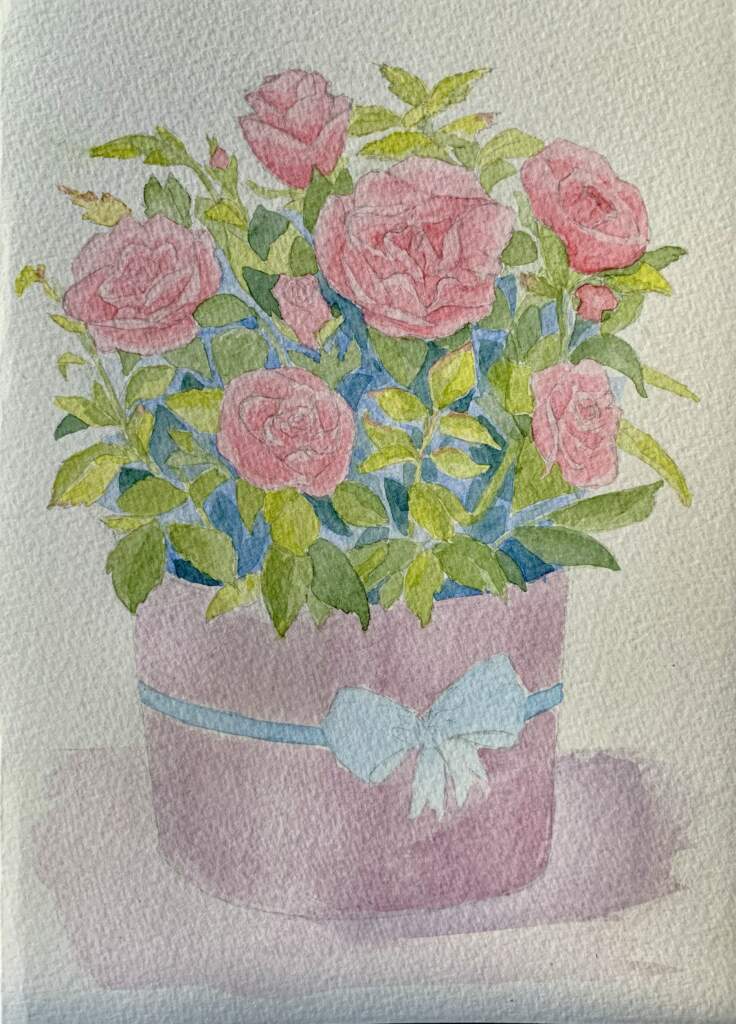
Make sure that details are added to all areas of the drawing, so that at each stage it looks whole and harmonious. Let’s add shadows to the roses.
You can turn the sheet freely to make it easier to draw. If too much water remains in any area, collect the water with a brush. The brush will soak up the water and leave an even colour in your drawing.
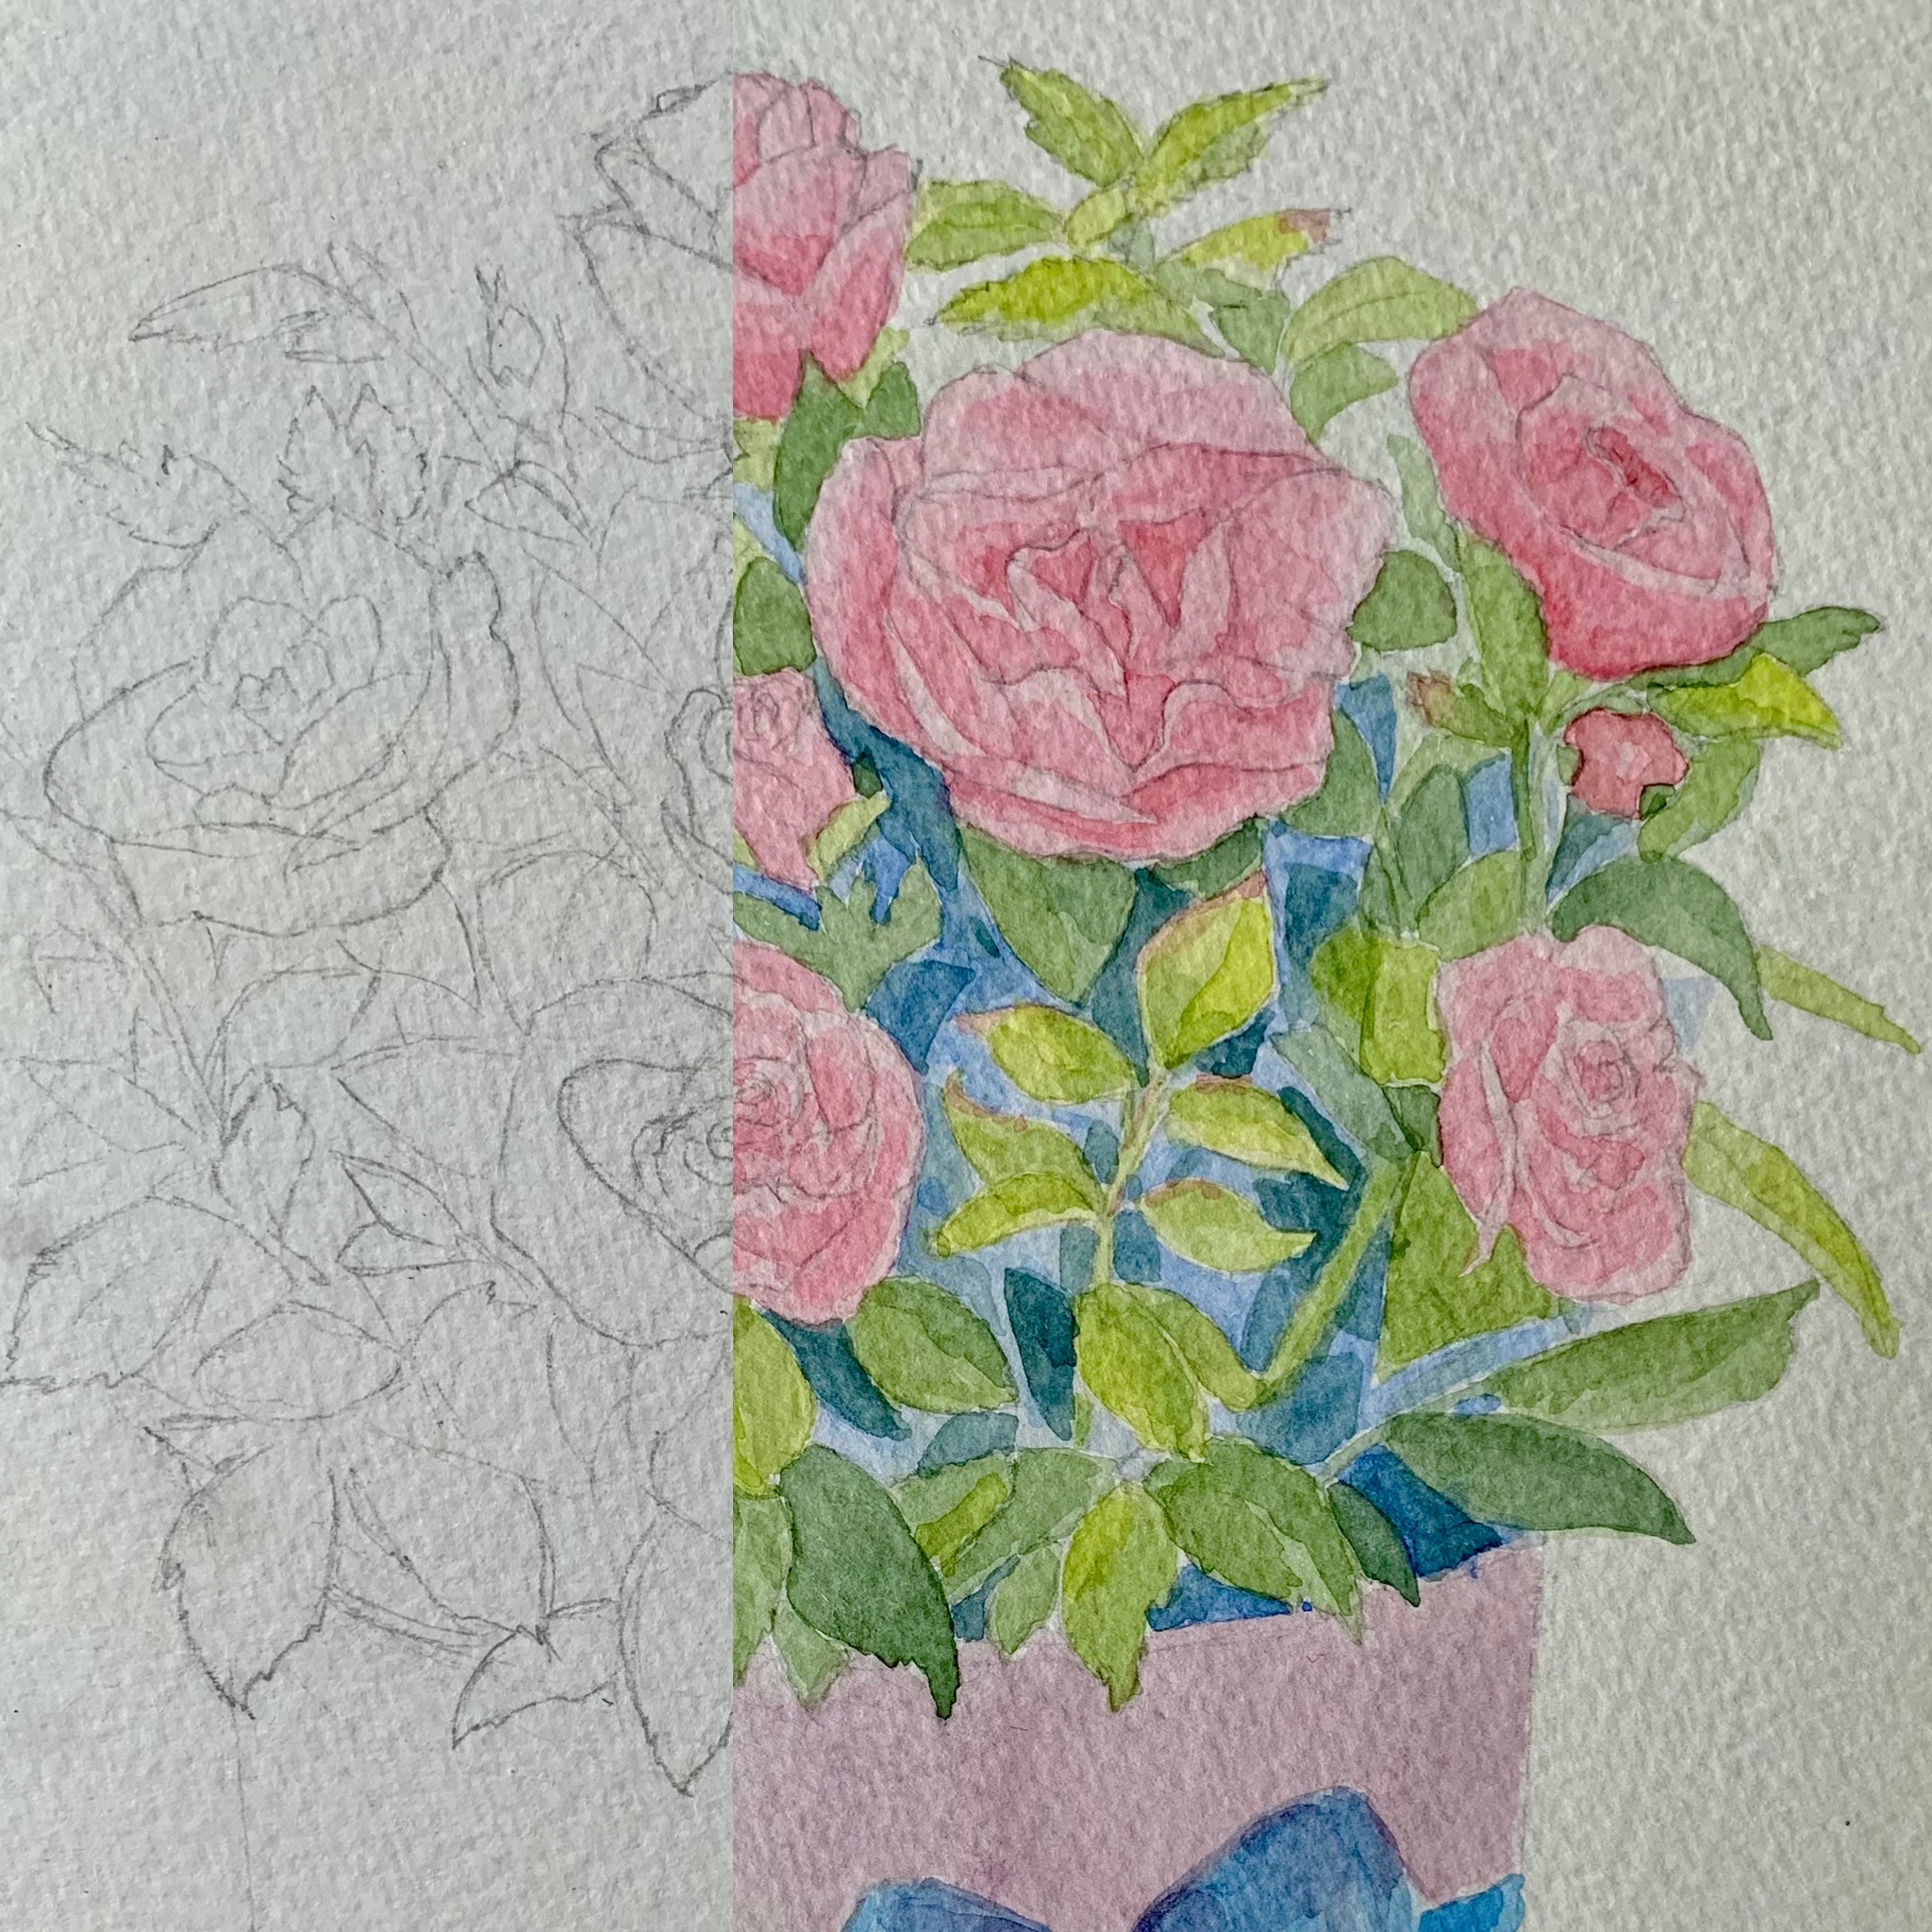
Then we draw the leaves, adding light areas on the leaves and dark areas
In the lesson we used three colours for the greens: lettuce, warm green and blue. If you mix them, you get a lot of shades of green. Warm lettuce shows the light well, warm green for medium leaves and if you mix warm green and blue, you get leaves in the shade.
You can also diversify our blue area by adding a variety of leaves in cool and dark shades.

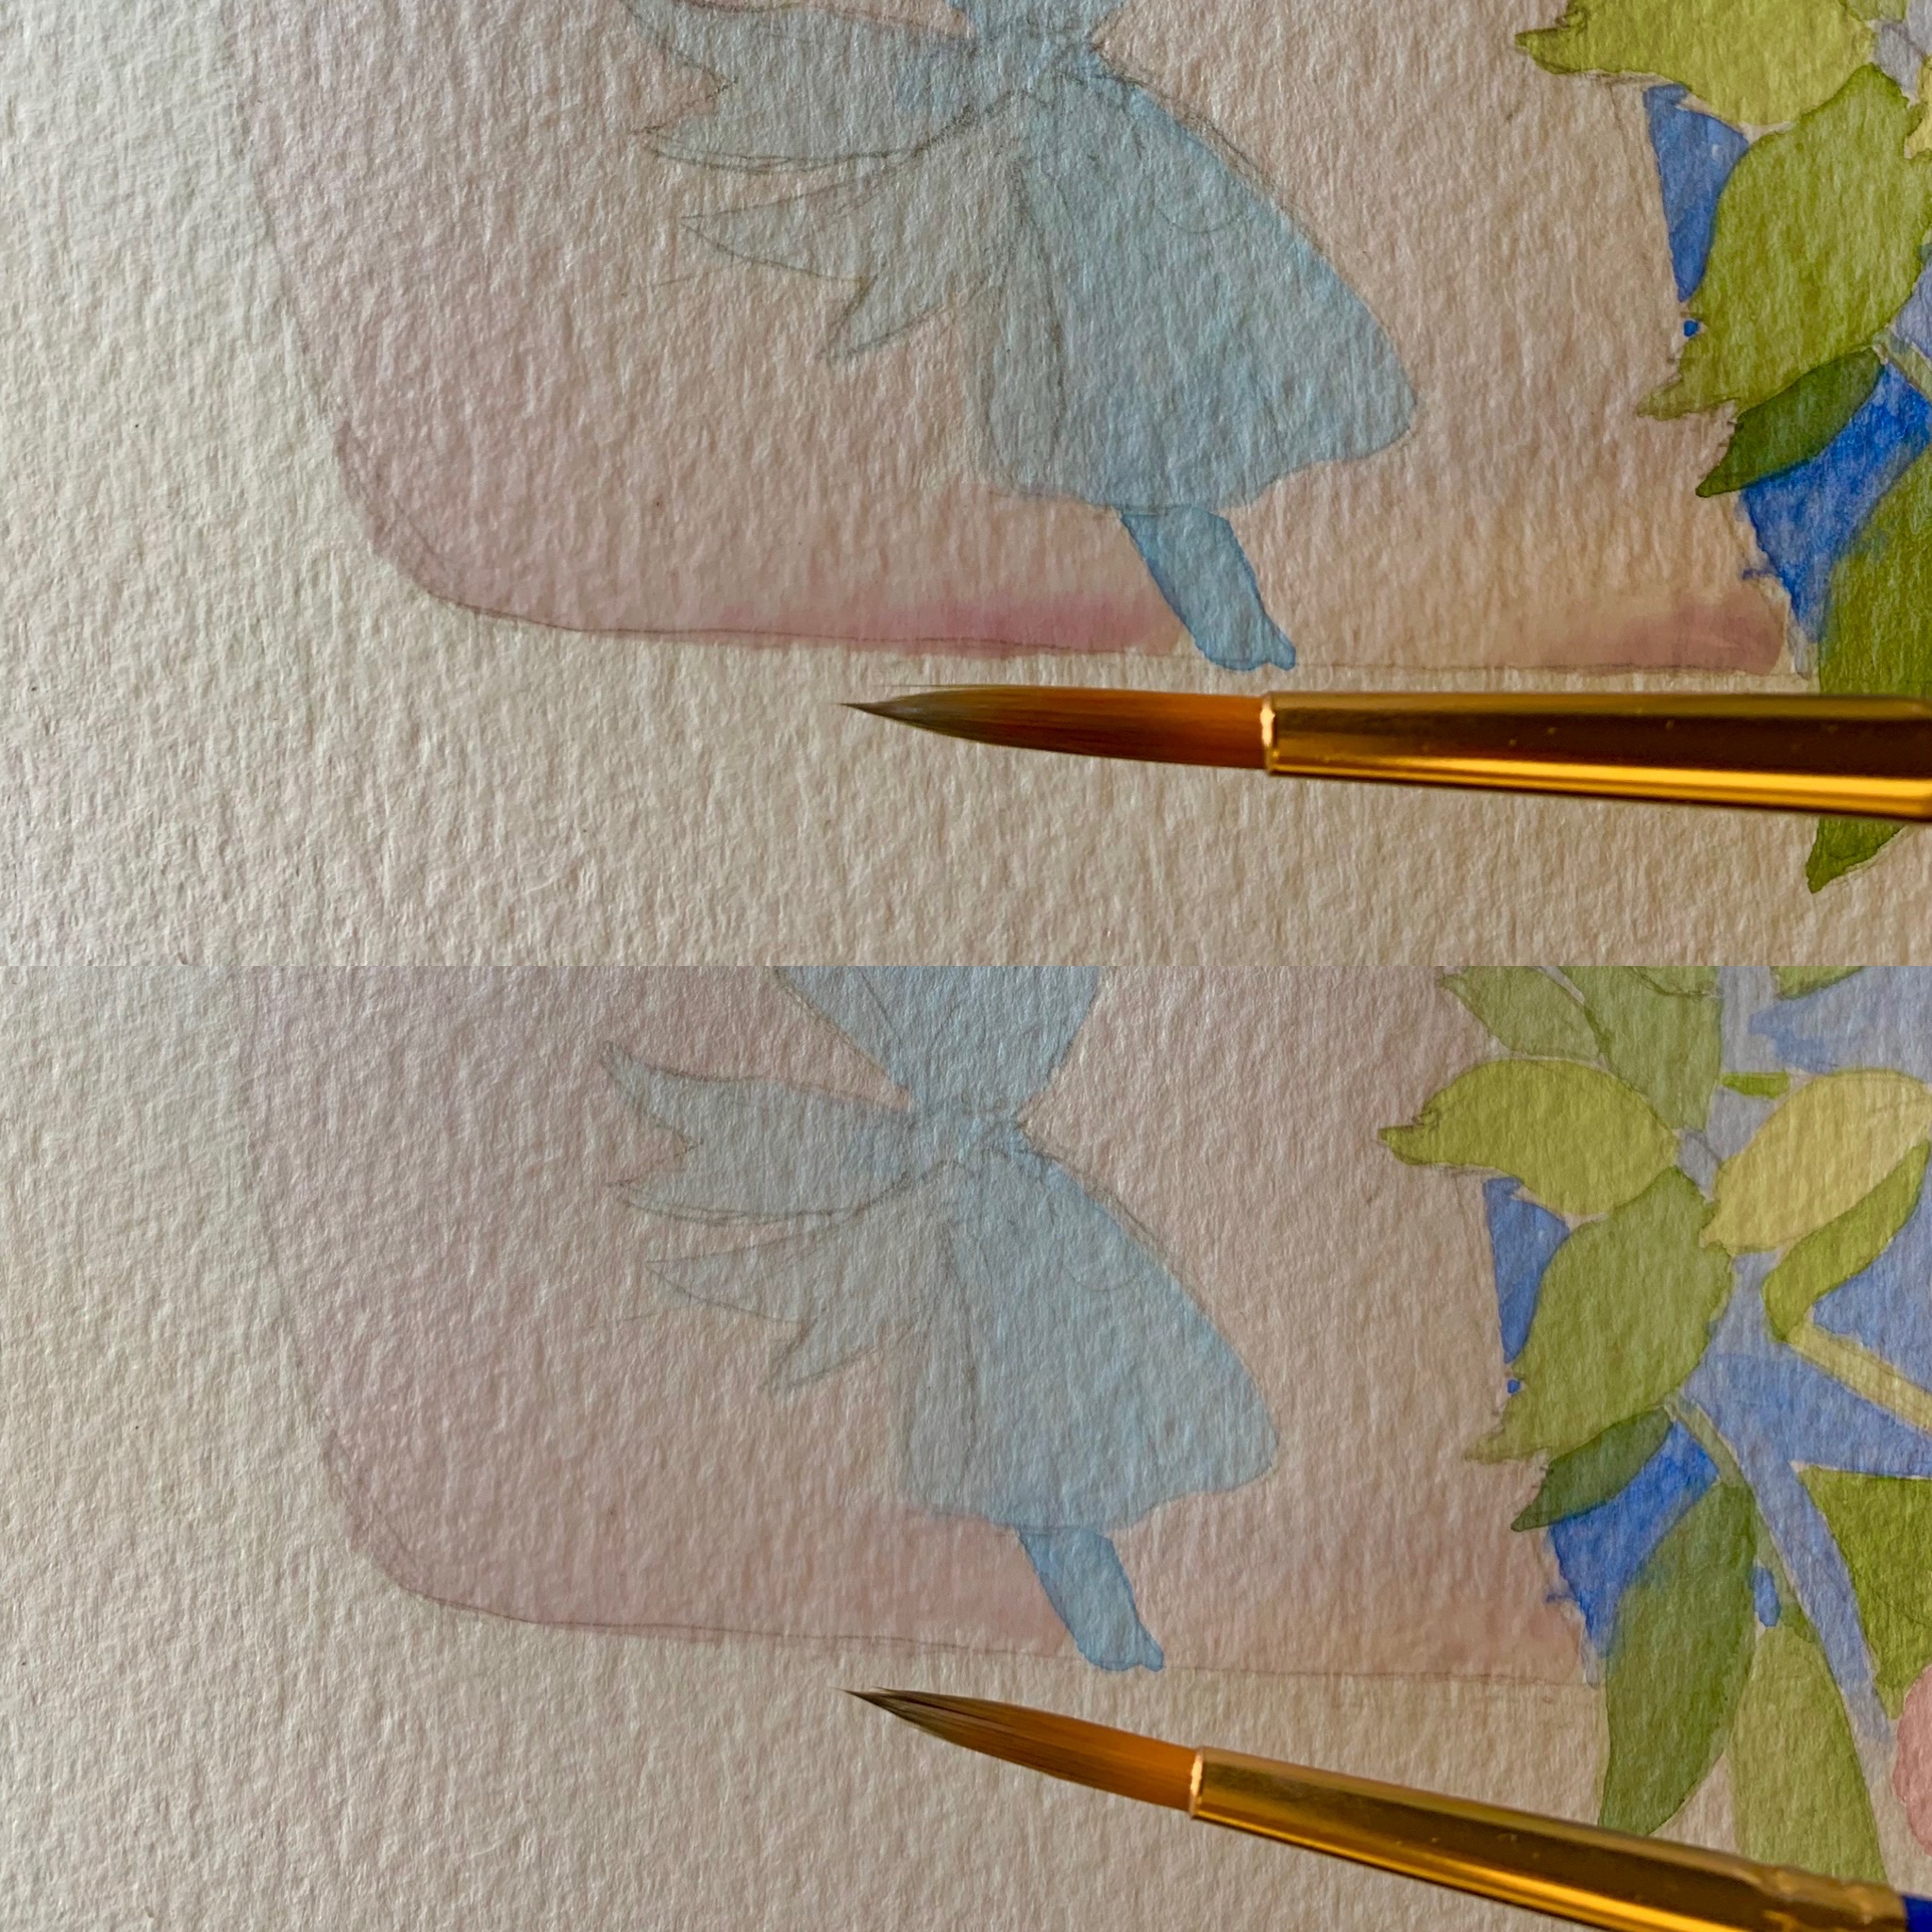
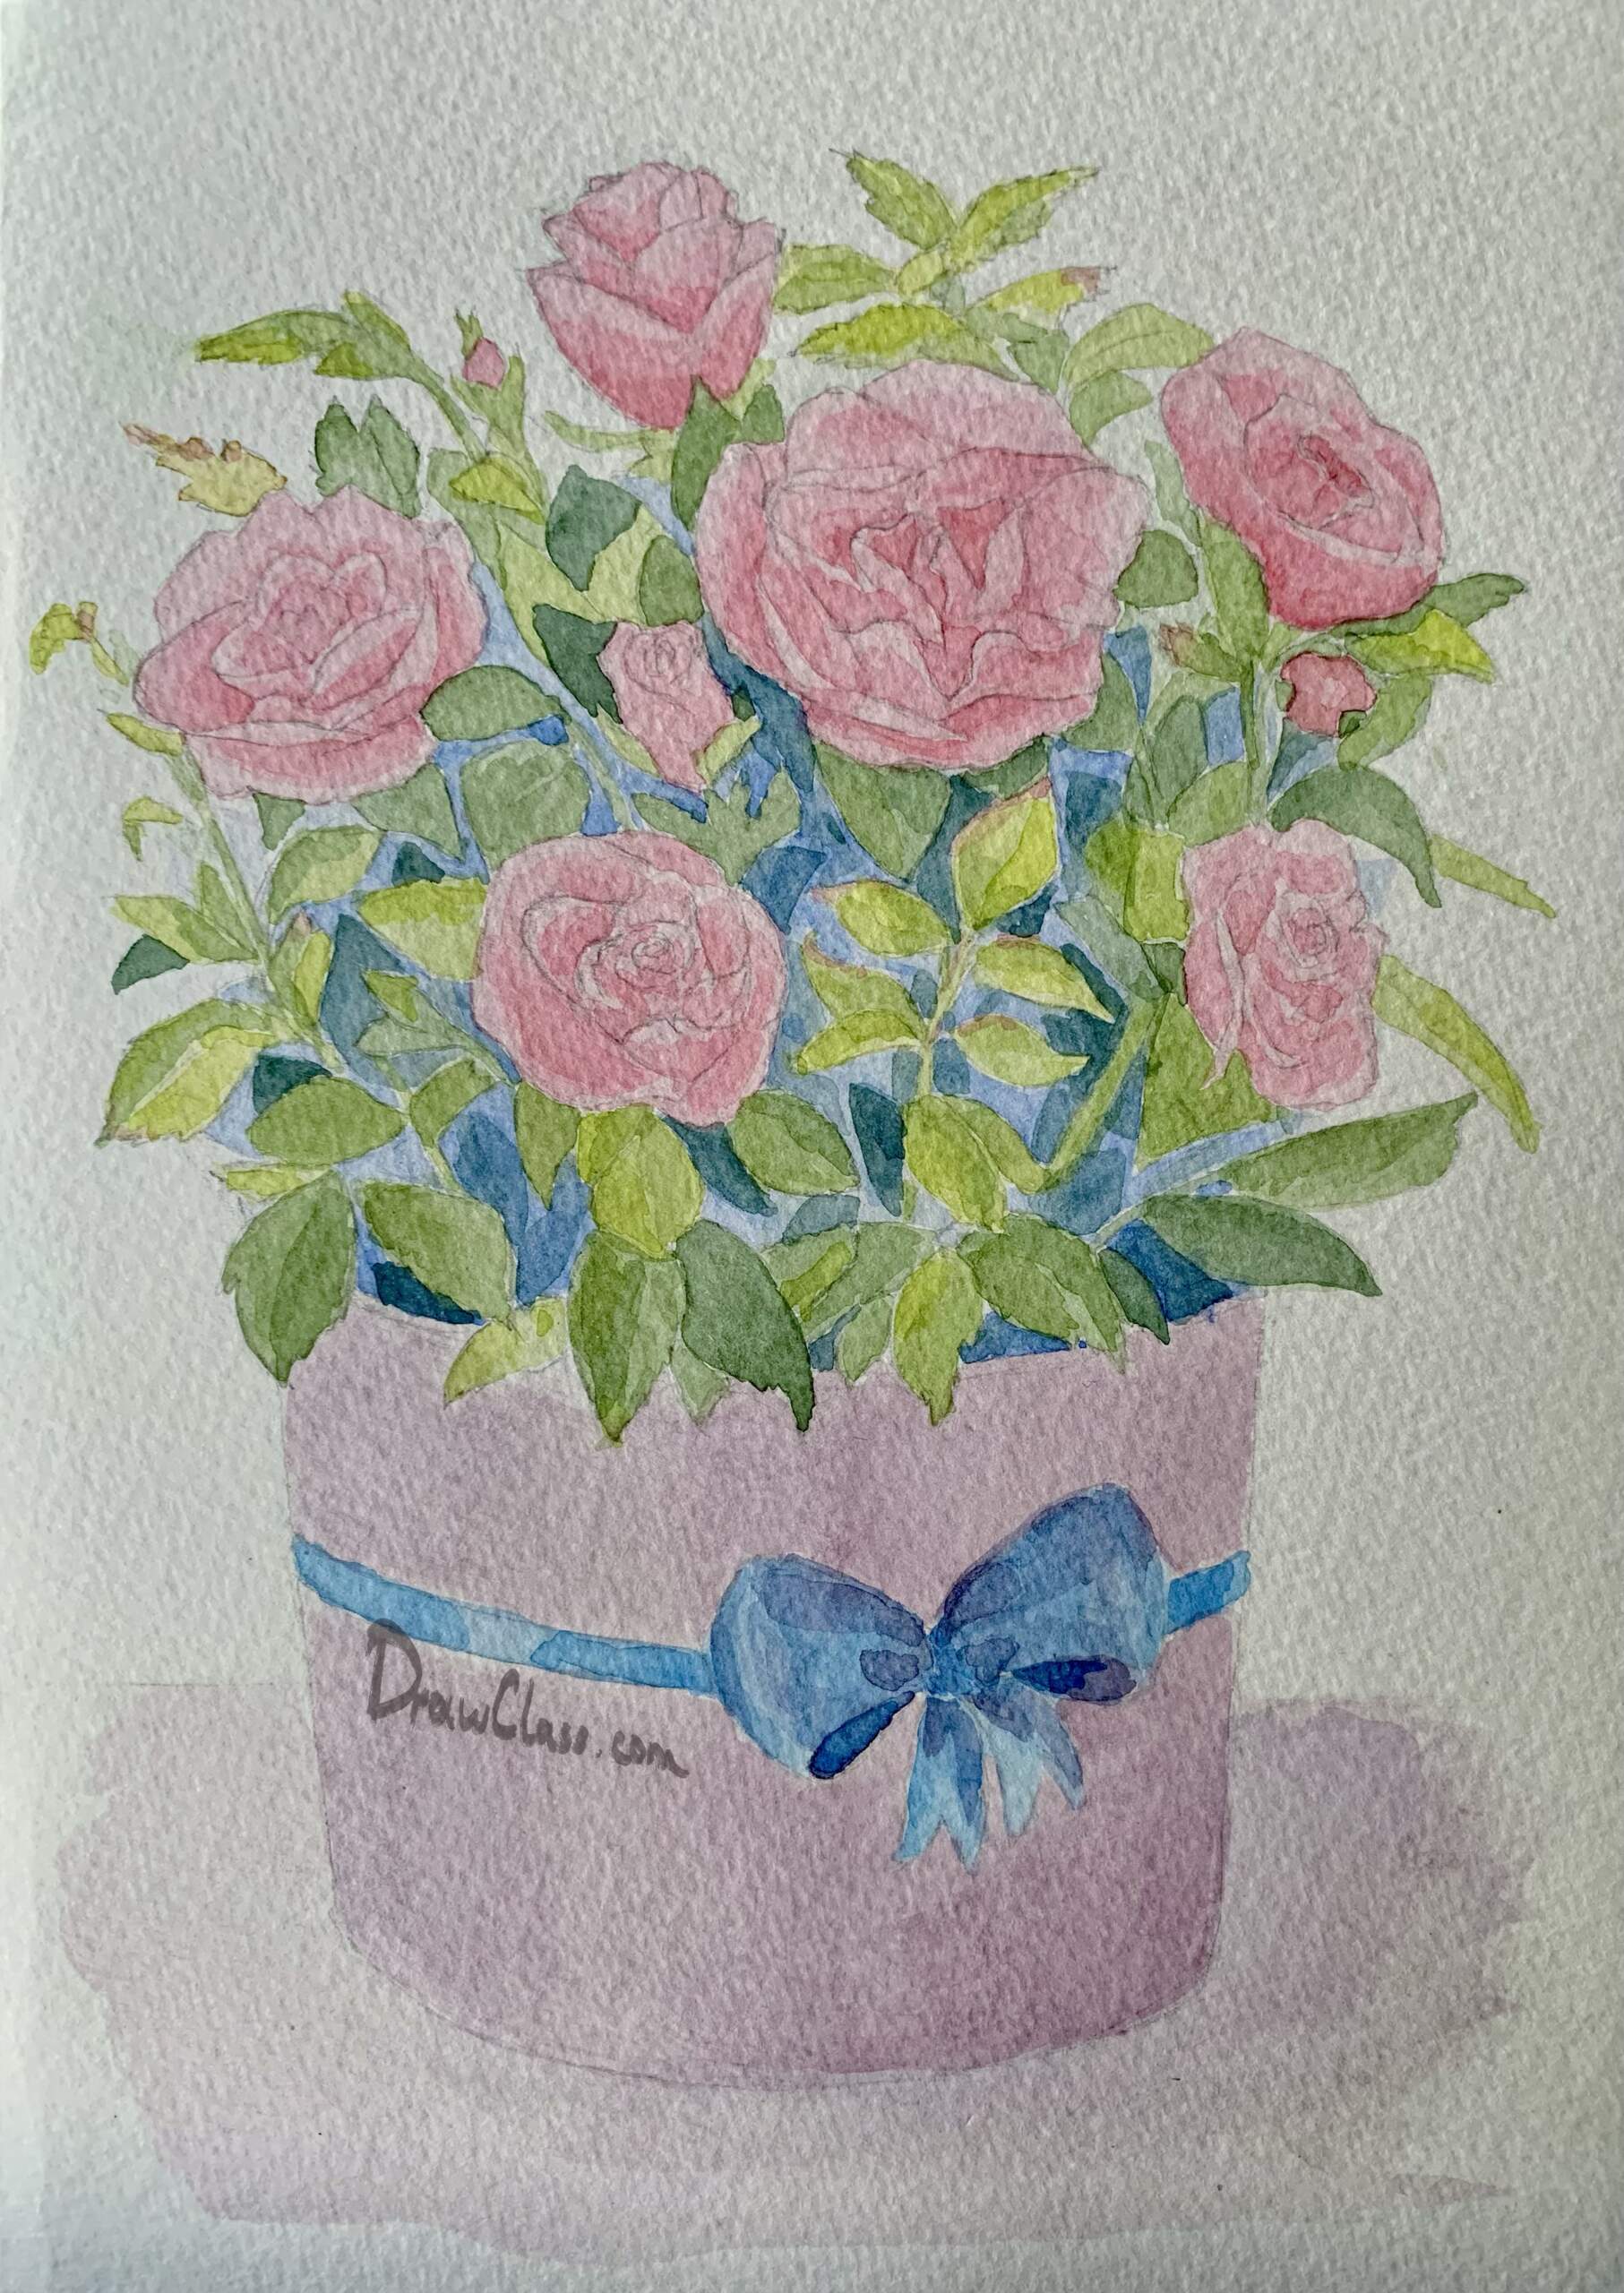
Now let’s draw the pot and the shadow behind the pot
I chose one colour so that it doesn’t distract from the roses and doesn’t draw too much attention.
Now let’s make a bow
Our picture is ready! Enjoy!
Nice watercolour tutorial and beautiful final result, thanks!